
Add a dish
Fill in the dish form from names and price to sizes, extras, allergens and availability, then save it to the draft.
- Goal
- A new dish with names in both languages, a price in OMR, sizes, extras and allergens is saved to your draft menu.
- Before you start
- A menu with at least one category (see Manage categories)
- You can edit menus (owner, admin or menu editor)
A dish is created on one page that has seven sections. Everything you save goes to the draft: guests only see the dish after you publish the menu. Dishes are added one by one; there is no import or upload of a whole menu. A menu can hold up to 1,000 dishes.
Open Menu Items and click Add item
In the sidebar choose Menu Items, then click Add item. The list also lets you search by name, description or SKU, and filter by category, status, availability and dietary label.
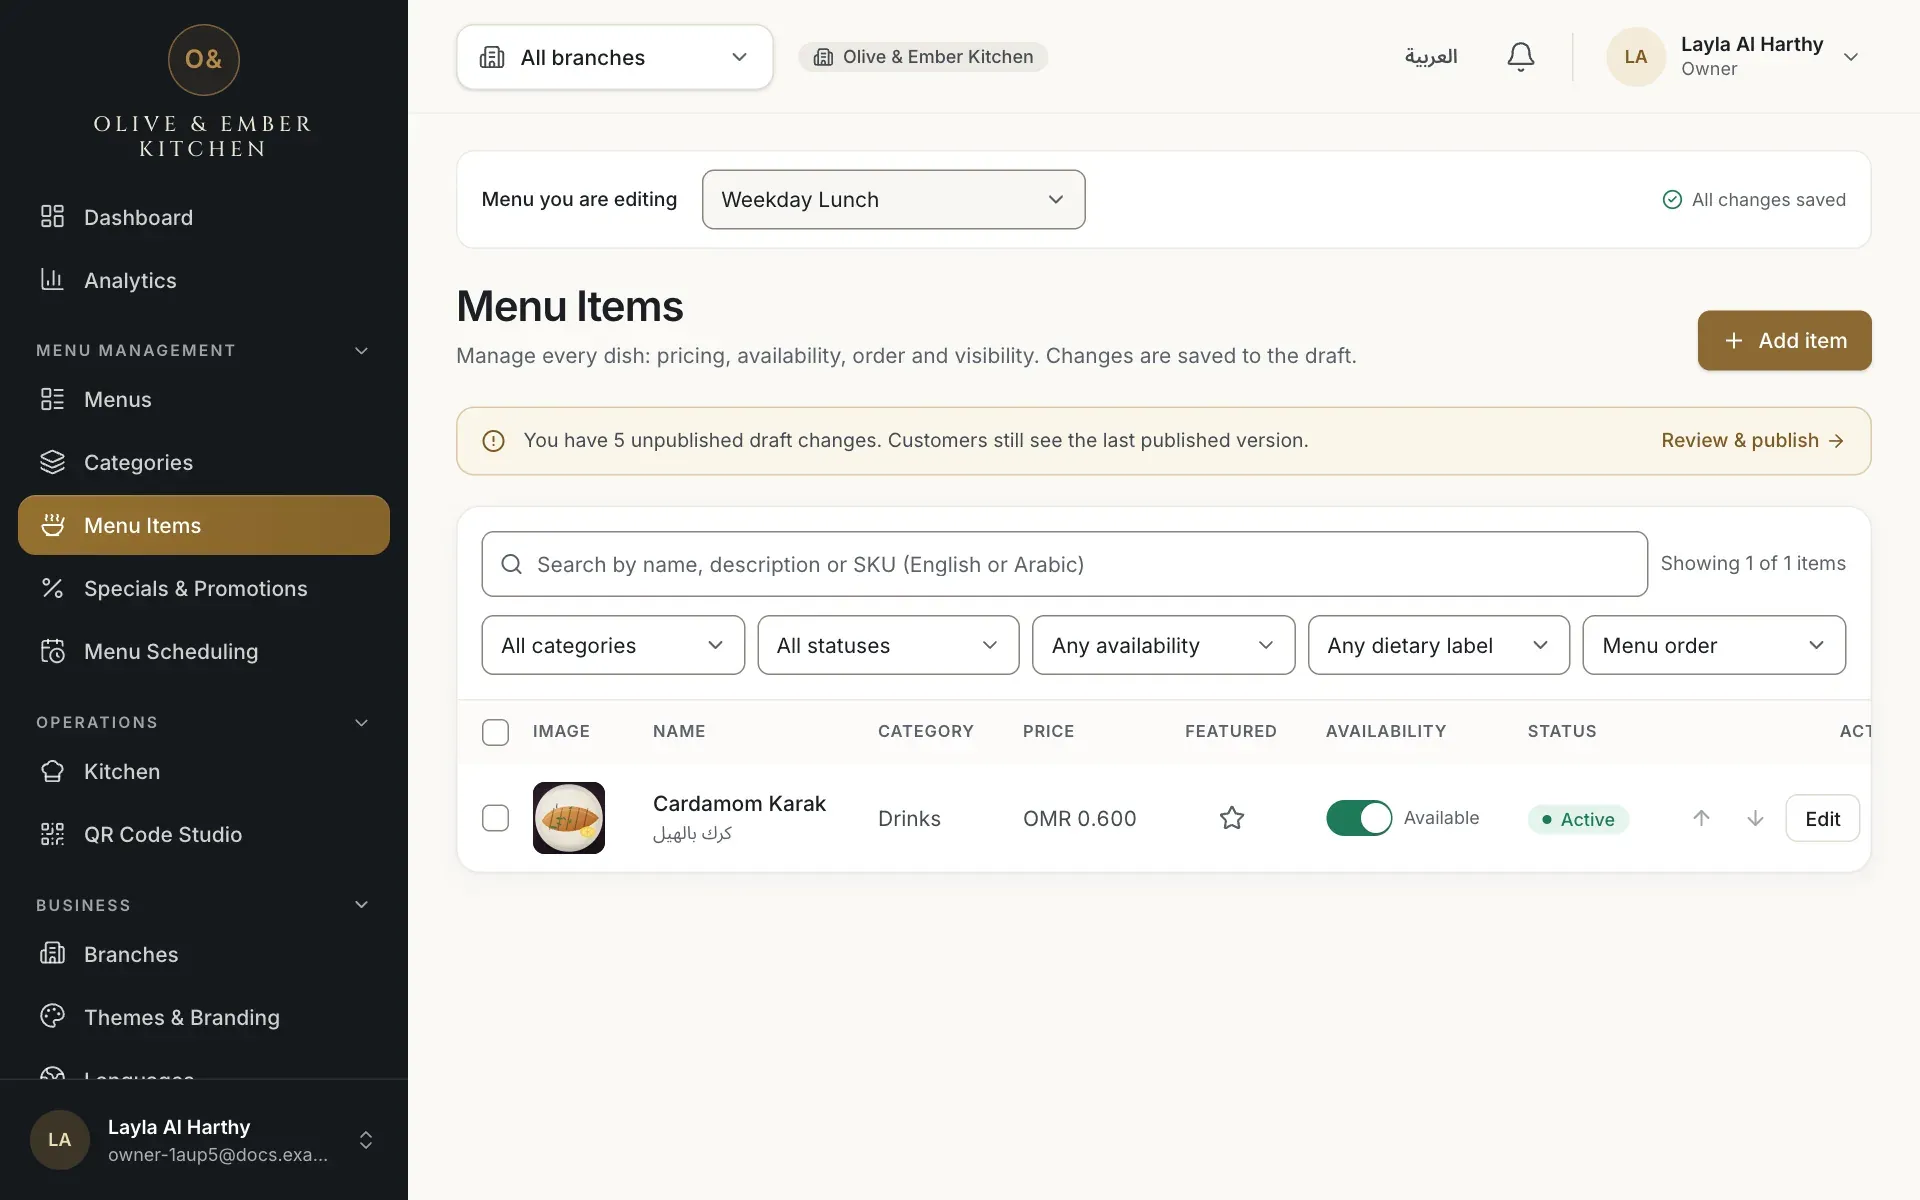
- The Add item button
Fill in the basic information
Type Name (English) and Name (Arabic), both required. The descriptions are optional (up to 400 characters). Choose the Category. Type a SKU, a short code of 2 to 24 letters, numbers, dashes or underscores that no other dish uses.
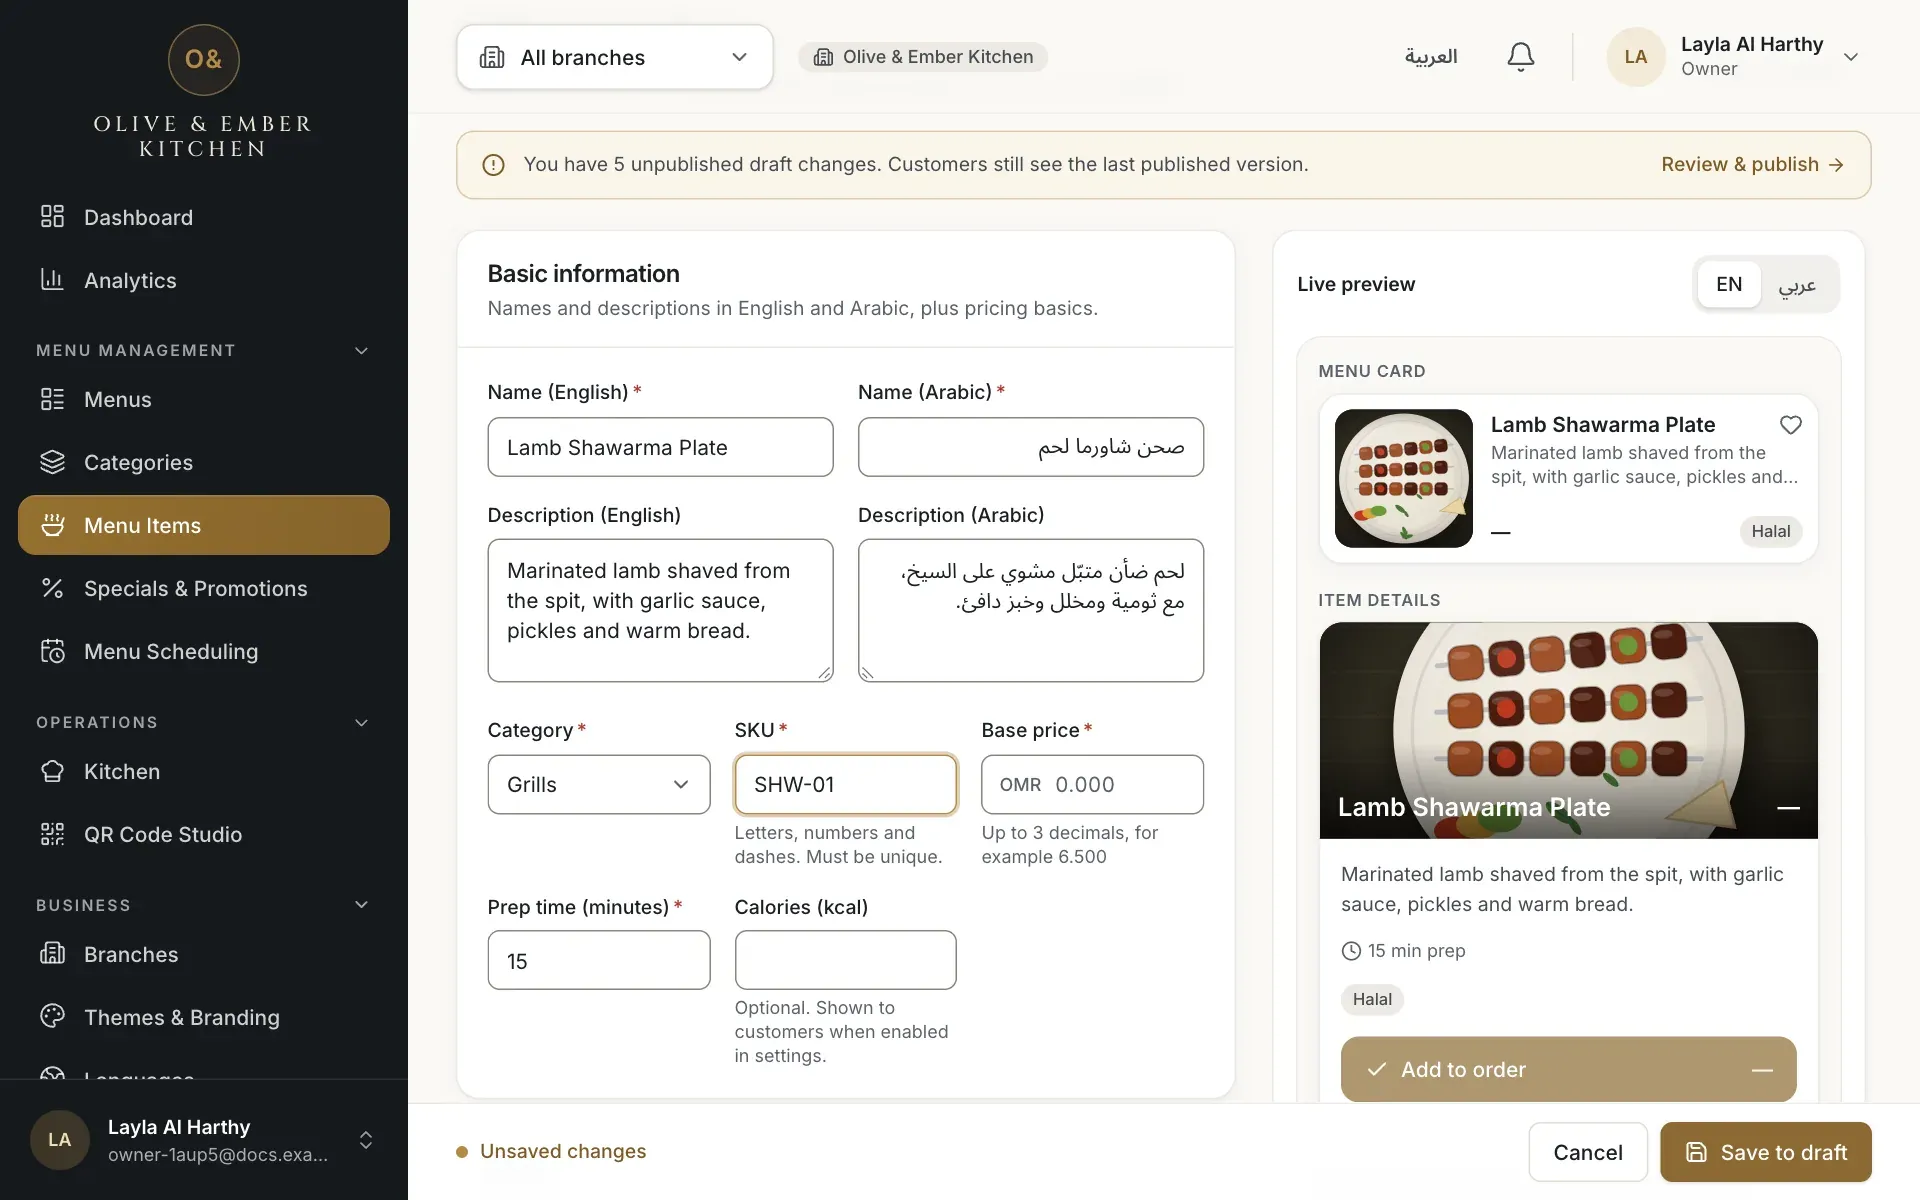
- The English name
- The Arabic name
- The category
- The SKU
Set the price and preparation time
Type the Base price in omani rials (OMR), with up to 3 decimals, for example 3.500. The price must be more than 0. Type the Prep time (minutes) as a whole number from 1 to 240; guests see it as a preparation time. Calories (kcal) is optional.
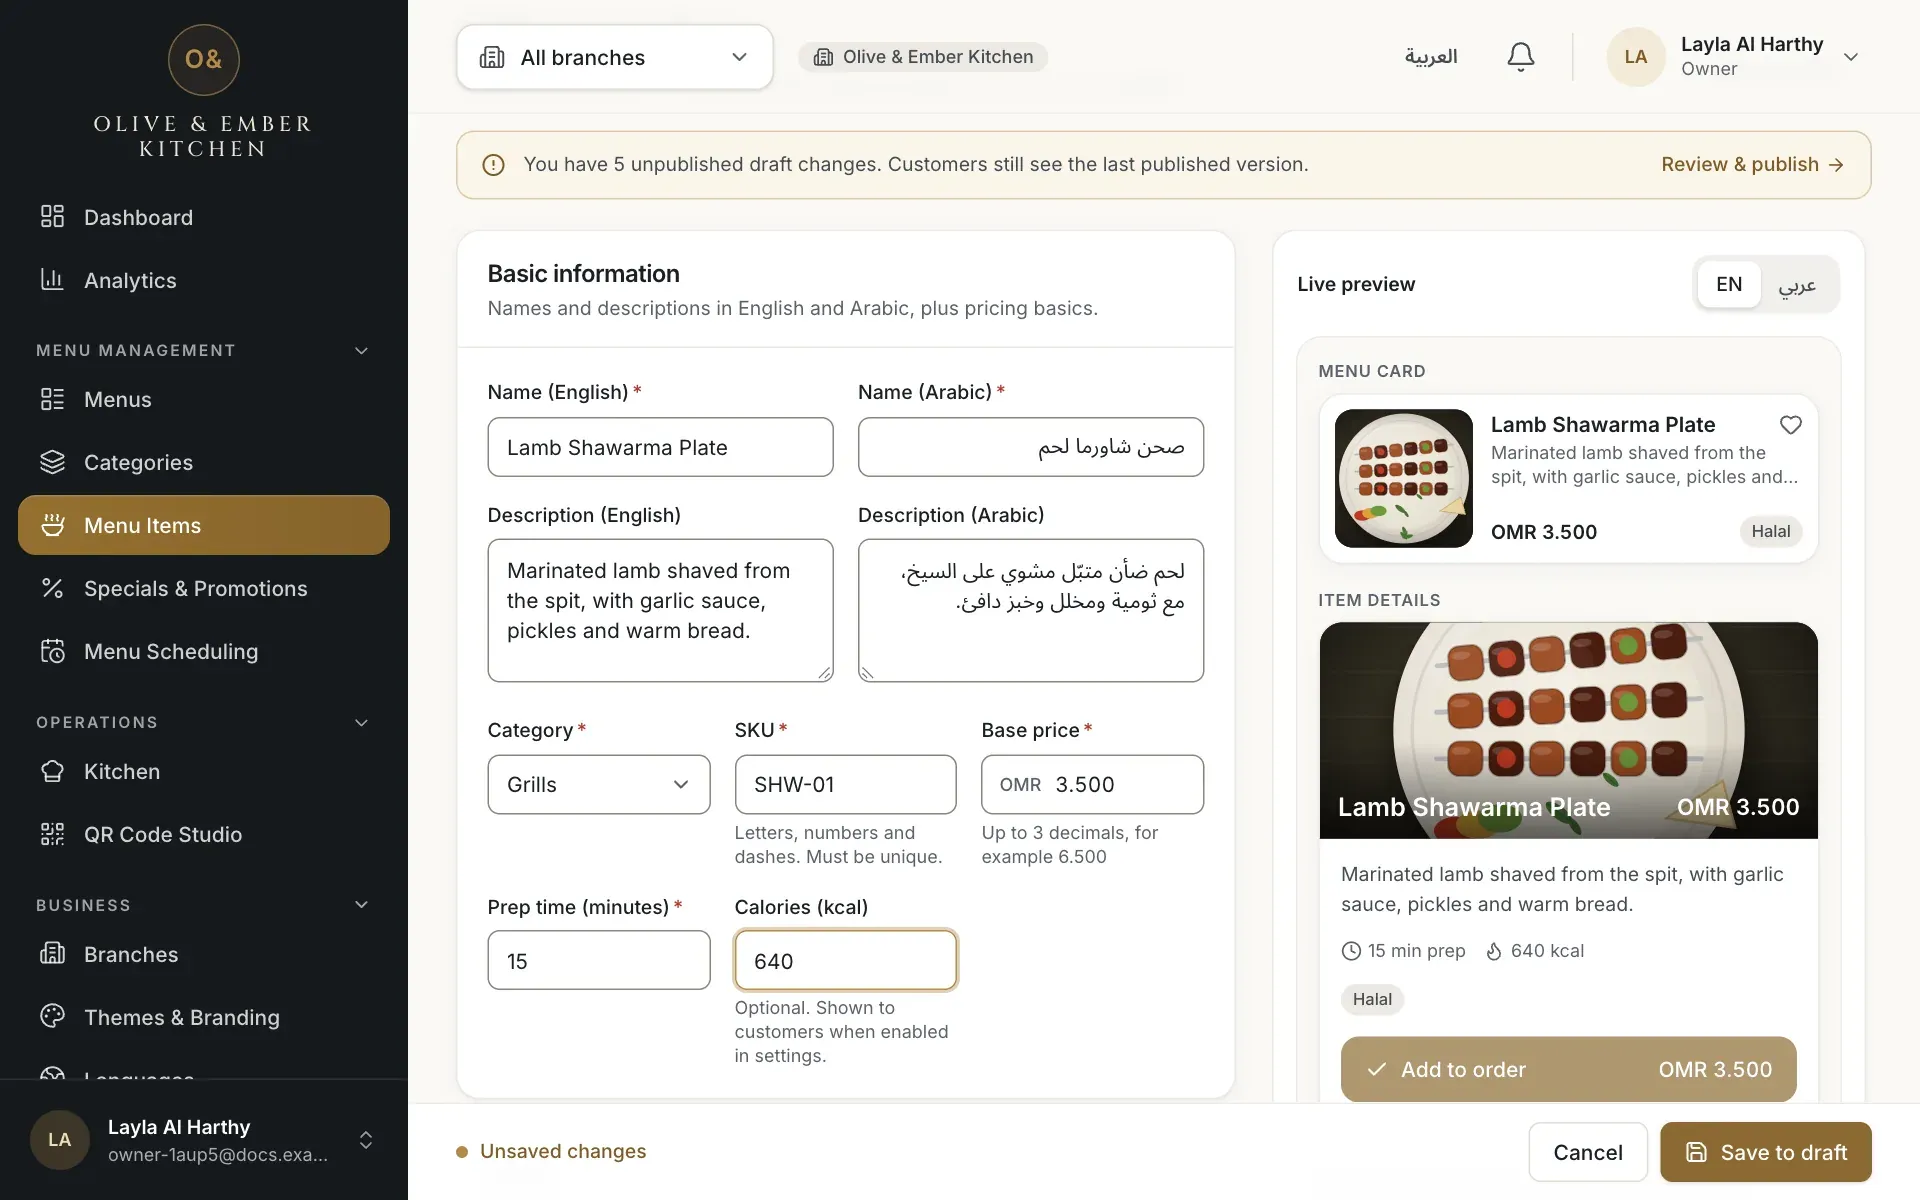
- The base price in OMR
- The prep time in minutes
- The calories
Add sizes (variants) if the dish has them
Under Variants click Add variant. Give each size an English and an Arabic name and a Price difference: the amount added to (or taken from) the base price. A dish can have up to 12 variants. Guests then choose their size. Turn a variant off with its switch if it is not available.
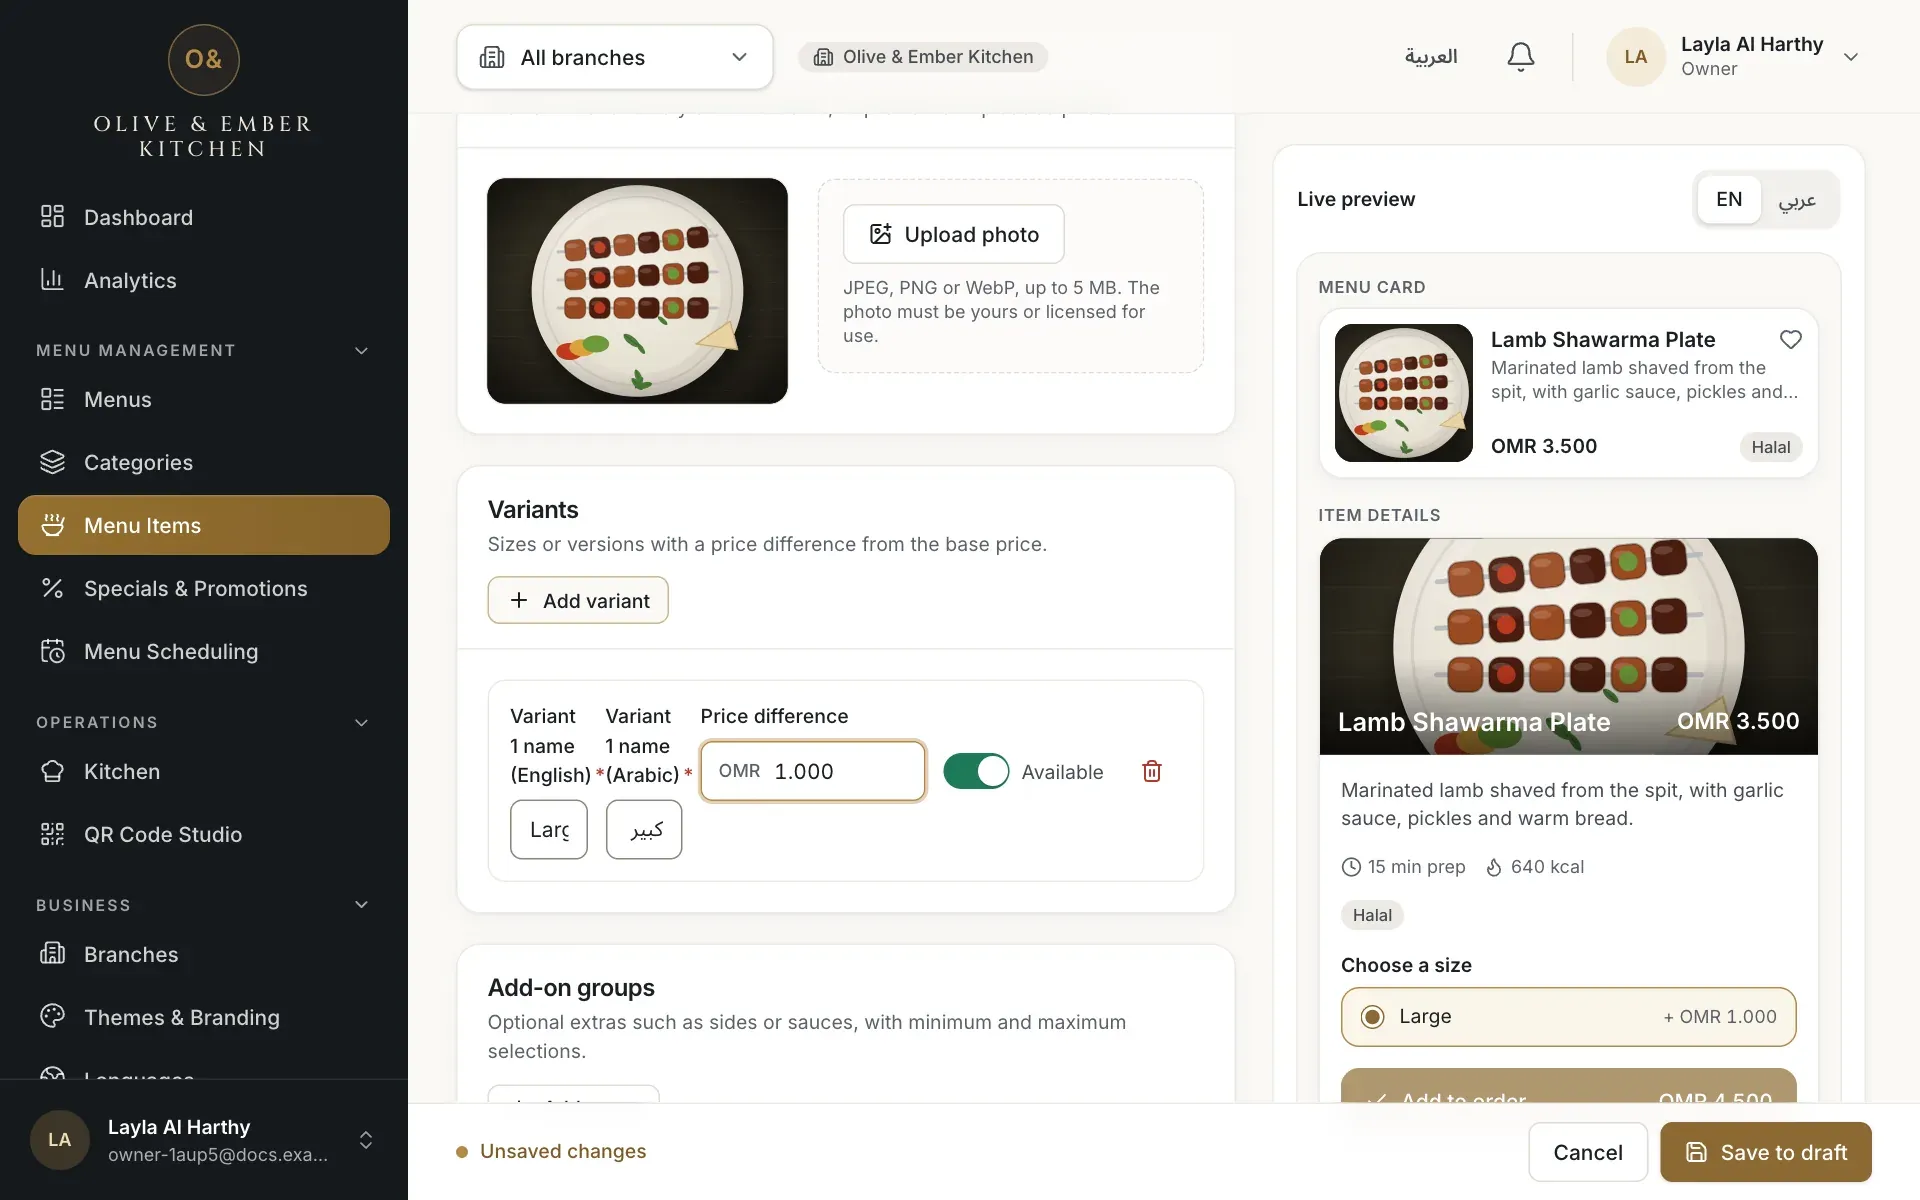
- The Add variant button
- The variant name in English
- The price difference
Add extras (add-on groups)
Under Add-on groups click Add group, for example "Extras". Set Min (0 makes the group optional) and Max, then add options with their names and an Extra price. The minimum cannot be higher than the maximum or the number of options, and every group needs at least one option.
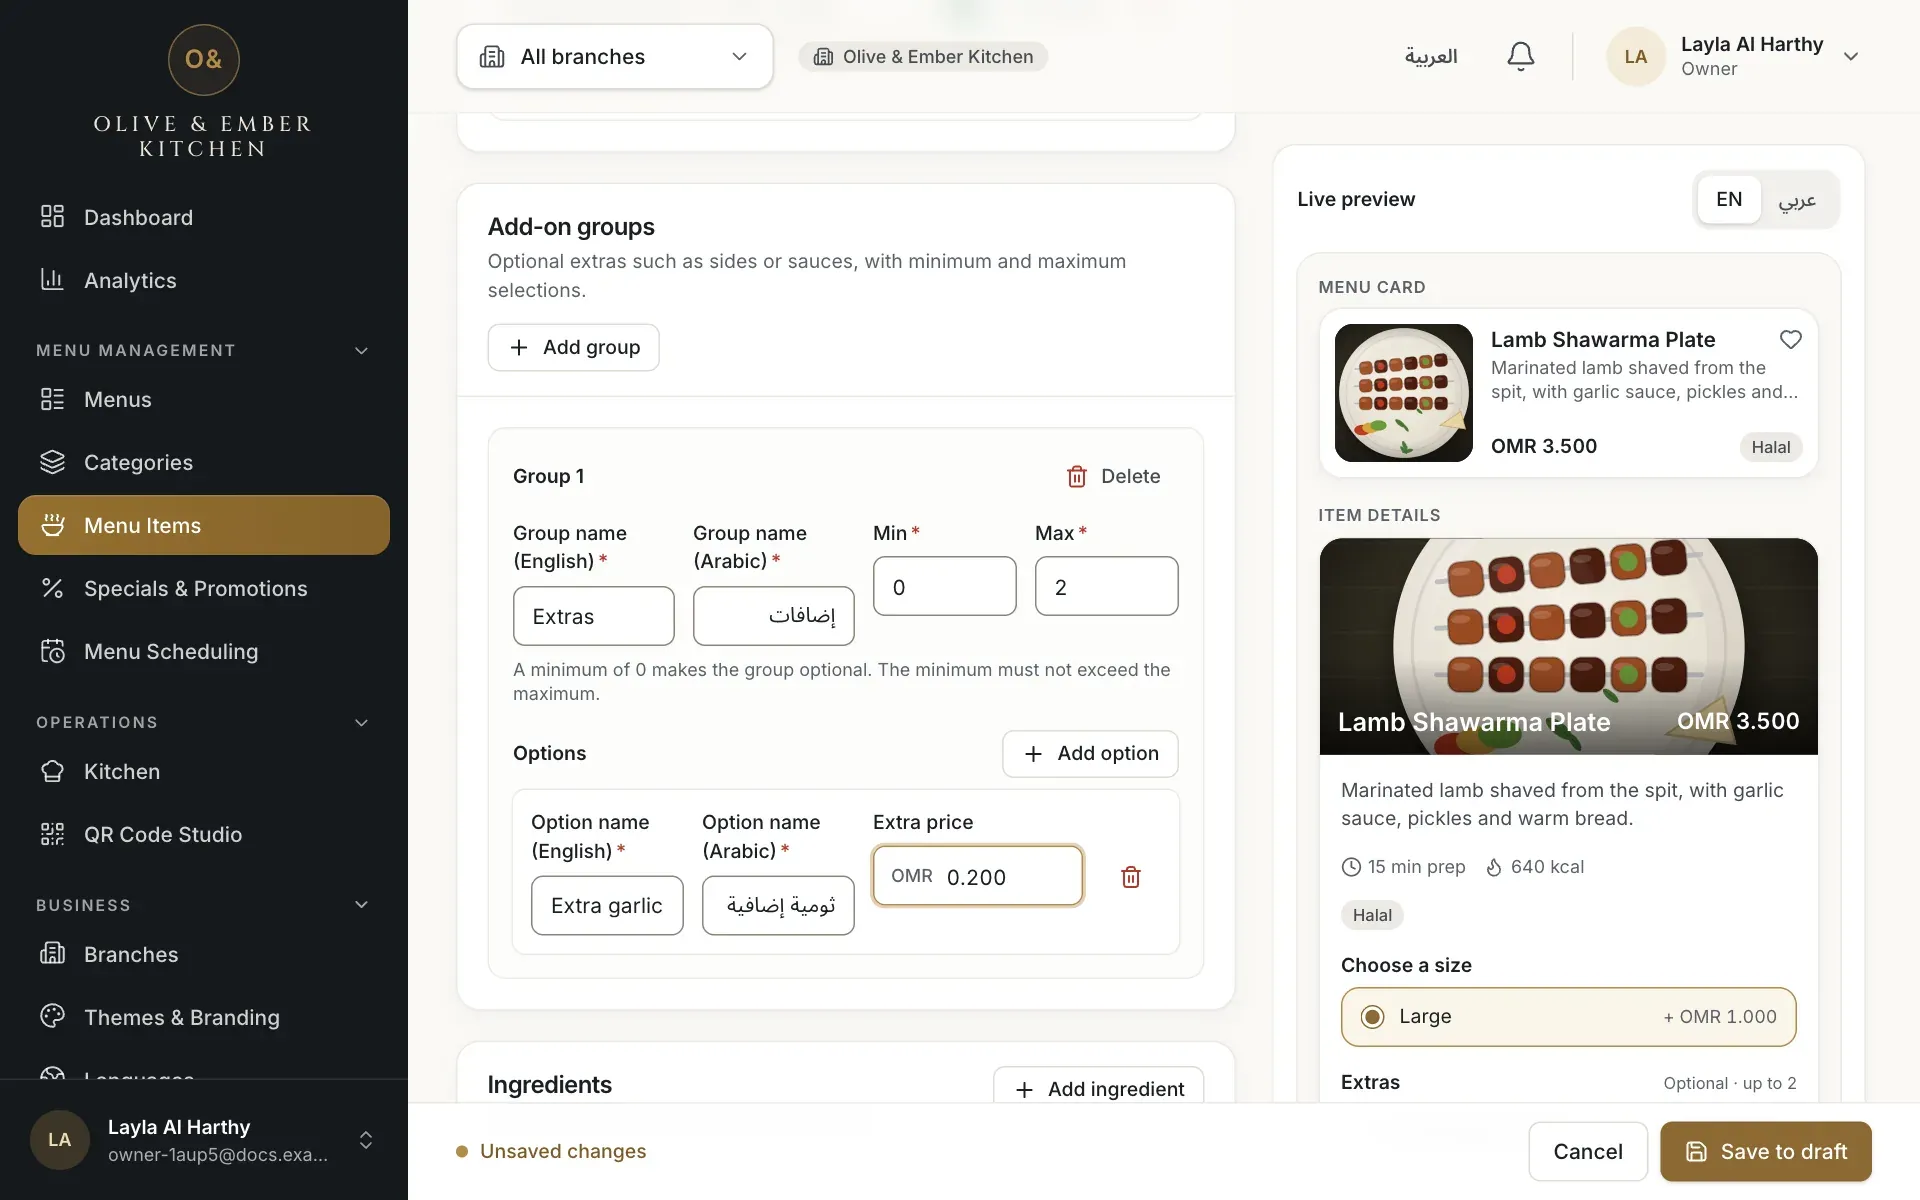
- The Add group button
- The minimum
- The maximum
- The extra price of the option
List the ingredients
Under Ingredients click Add ingredient and type each ingredient in English and in Arabic. Fill in both languages, or leave both empty. You can list up to 40.
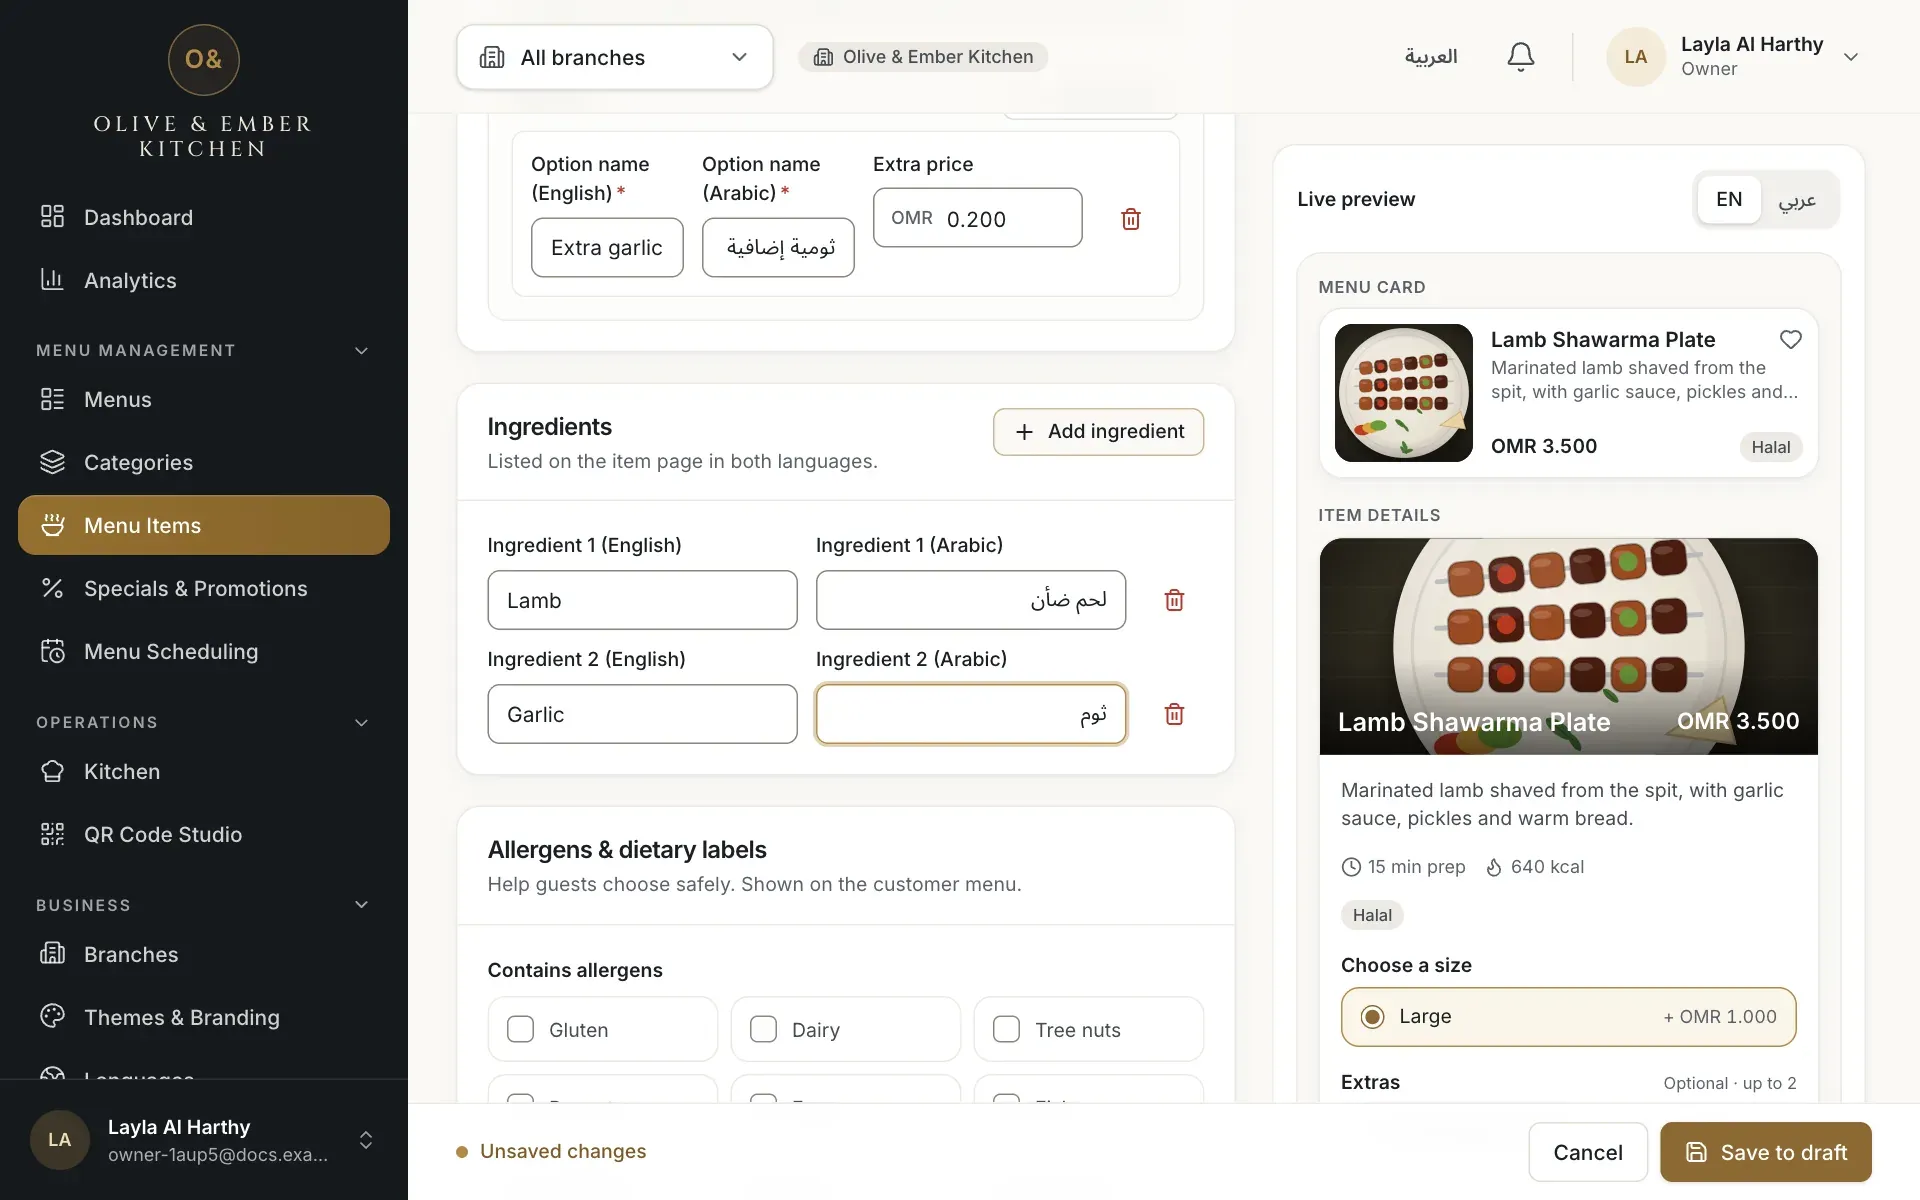
- The Add ingredient button
- The ingredient in English
- The ingredient in Arabic
Tick allergens and dietary labels
Under Allergens & dietary labels, tick Contains allergens that apply (for example Gluten or Sesame) and the Dietary labels (for example Halal, Vegetarian, Spicy). Guests see these on the menu, so choose carefully.
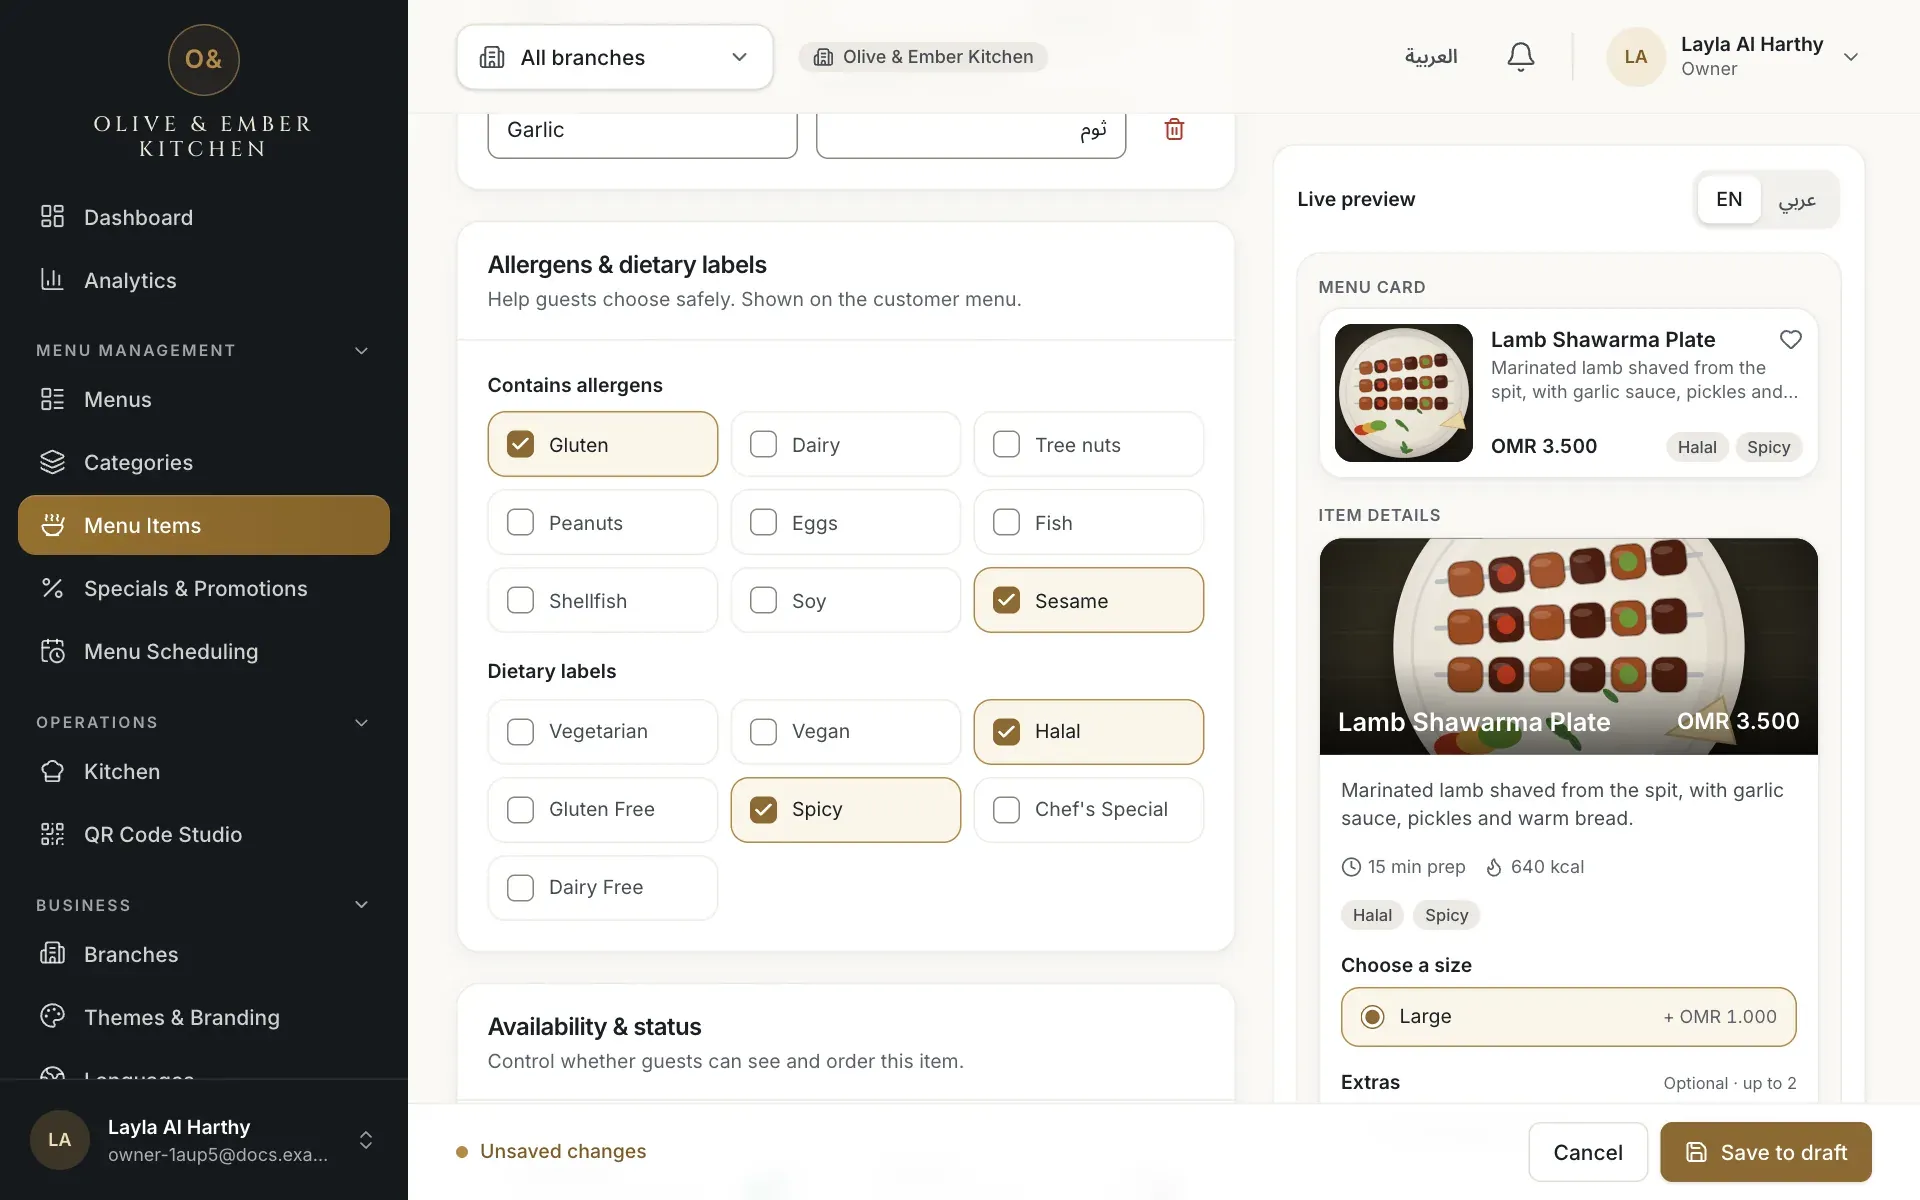
- The Gluten allergen
- The Sesame allergen
- The Spicy label
Set availability and status
Under Availability & status: Availability is on when the dish can be ordered (turn it off when it is sold out today), Featured highlights it in Chef's Specials, Bestseller adds a tag. Status must be Active for the dish to appear once published.
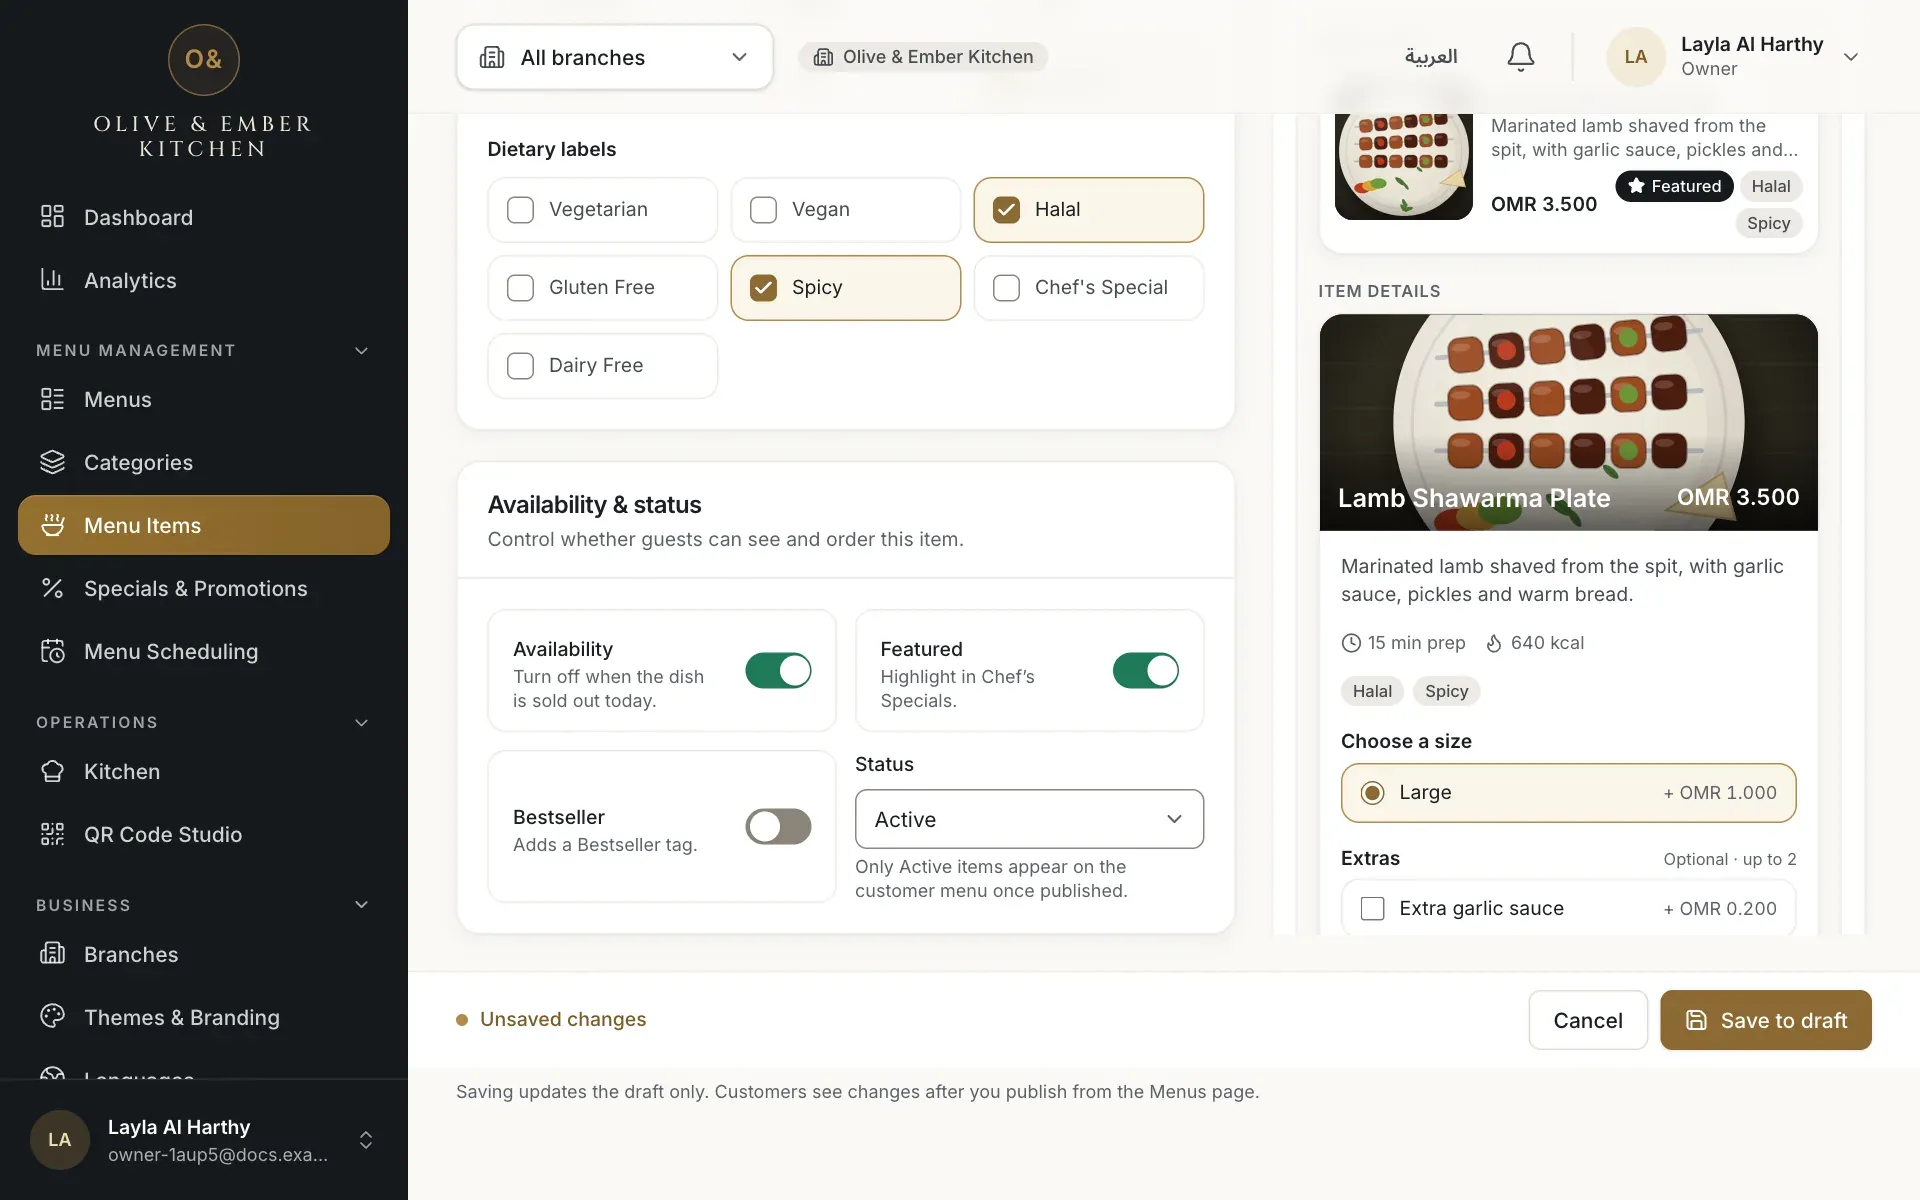
- The availability switch
- The featured switch
- The status list
Save to draft
Click Save to draft. A notice says Saved to draft — publish to go live and the dish appears in the list. Add a photo in Upload dish photos, and publish when you are ready.
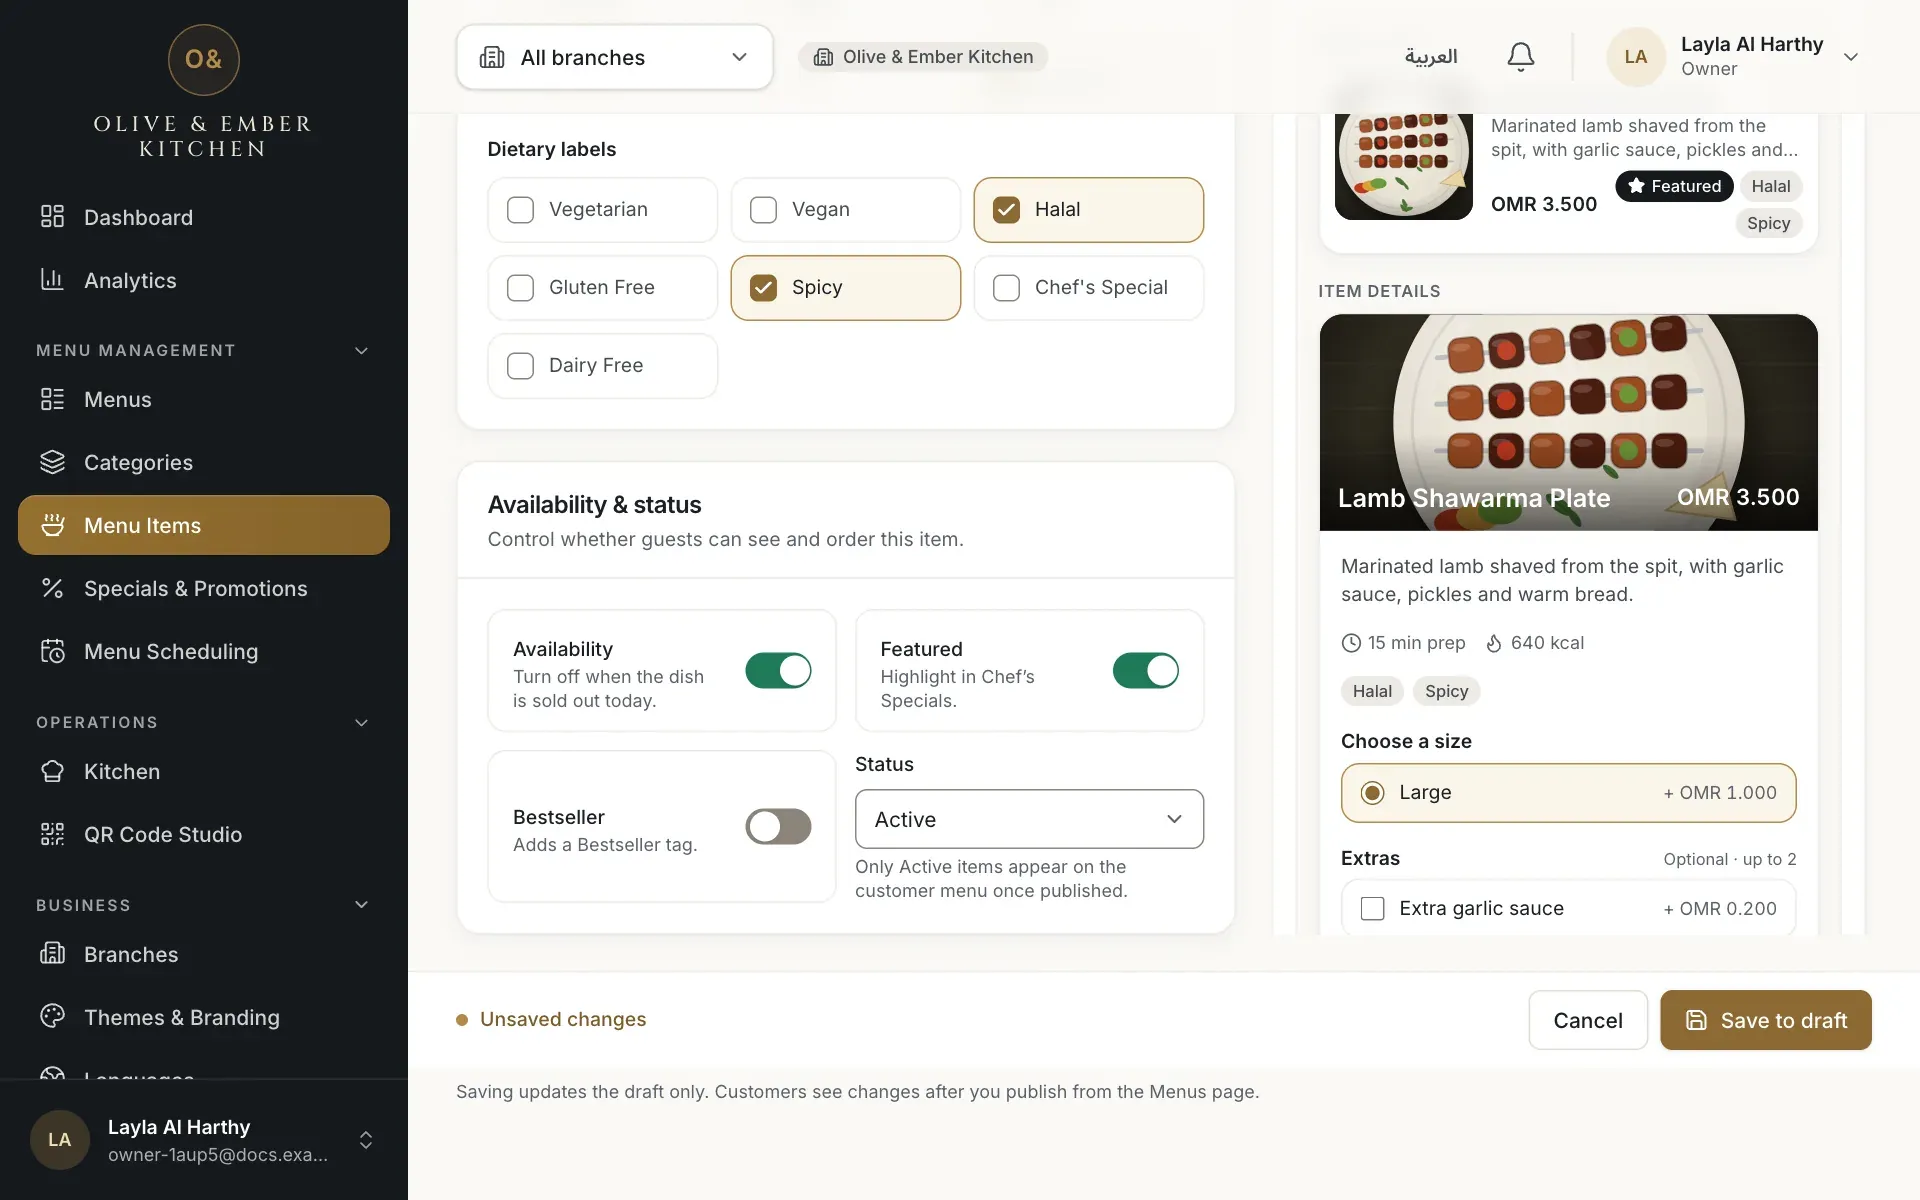
- The Save to draft button
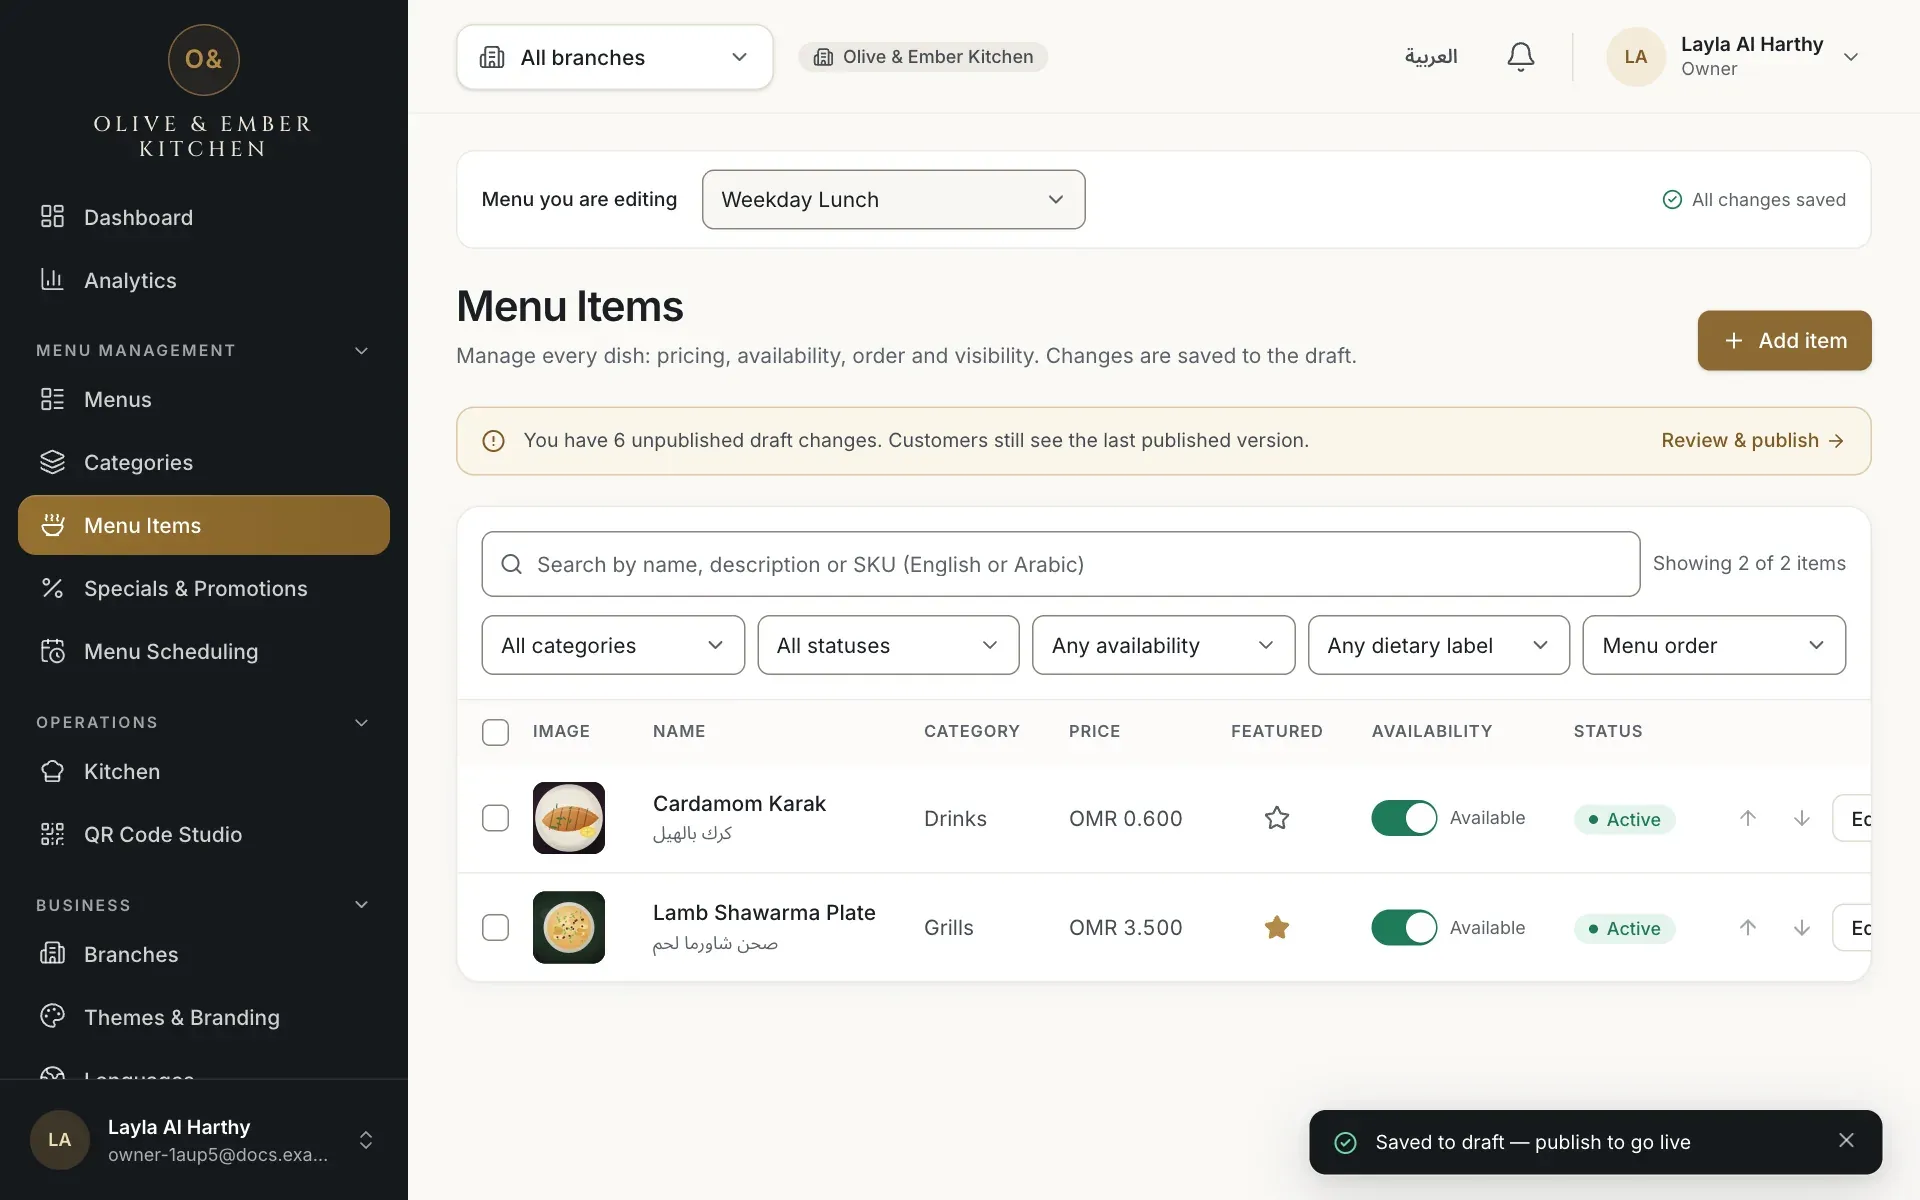
- The new dish in the list
Leaving the form
If you leave with unsaved changes, a dialog asks Leave without saving?. Choose Discard & leave only if you are sure.
Troubleshooting
Each SKU must be unique in the restaurant. Type a different code.
Type a price above zero, for example 3.500. Use up to 3 decimals ("Enter a valid price (up to 3 decimals)").
The prep time must be a whole number of minutes from 1 to 240.
In an add-on group, lower Min or raise Max. If Min is higher than the number of options, add options or lower Min.
An ingredient or a size name has only one language. Fill in both, or clear the one you typed.
Related guides
- MenuUpload dish photosAdd, replace or remove a dish photo, and learn the photo rules: JPEG, PNG or WebP, up to 5 MB.
- MenuPrices and availabilityChange a price, mark a dish sold out, feature it, set its status and mark a dish sold out at one branch only.
- MenuPublish your menuCheck the draft, assign the menu to a branch, publish it, read the version history, roll back, discard changes or take a menu away.