
Quick-start checklist
The seven setup steps on your dashboard, what each one opens, and the shortest road from an empty restaurant to a live QR menu.
- Goal
- You know the seven setup steps, what each one links to, and which guide to read for each, so you can take a new restaurant from nothing to a QR code that opens a live menu.
- Before you start
- A restaurant created in RothDine
- Owner or admin access
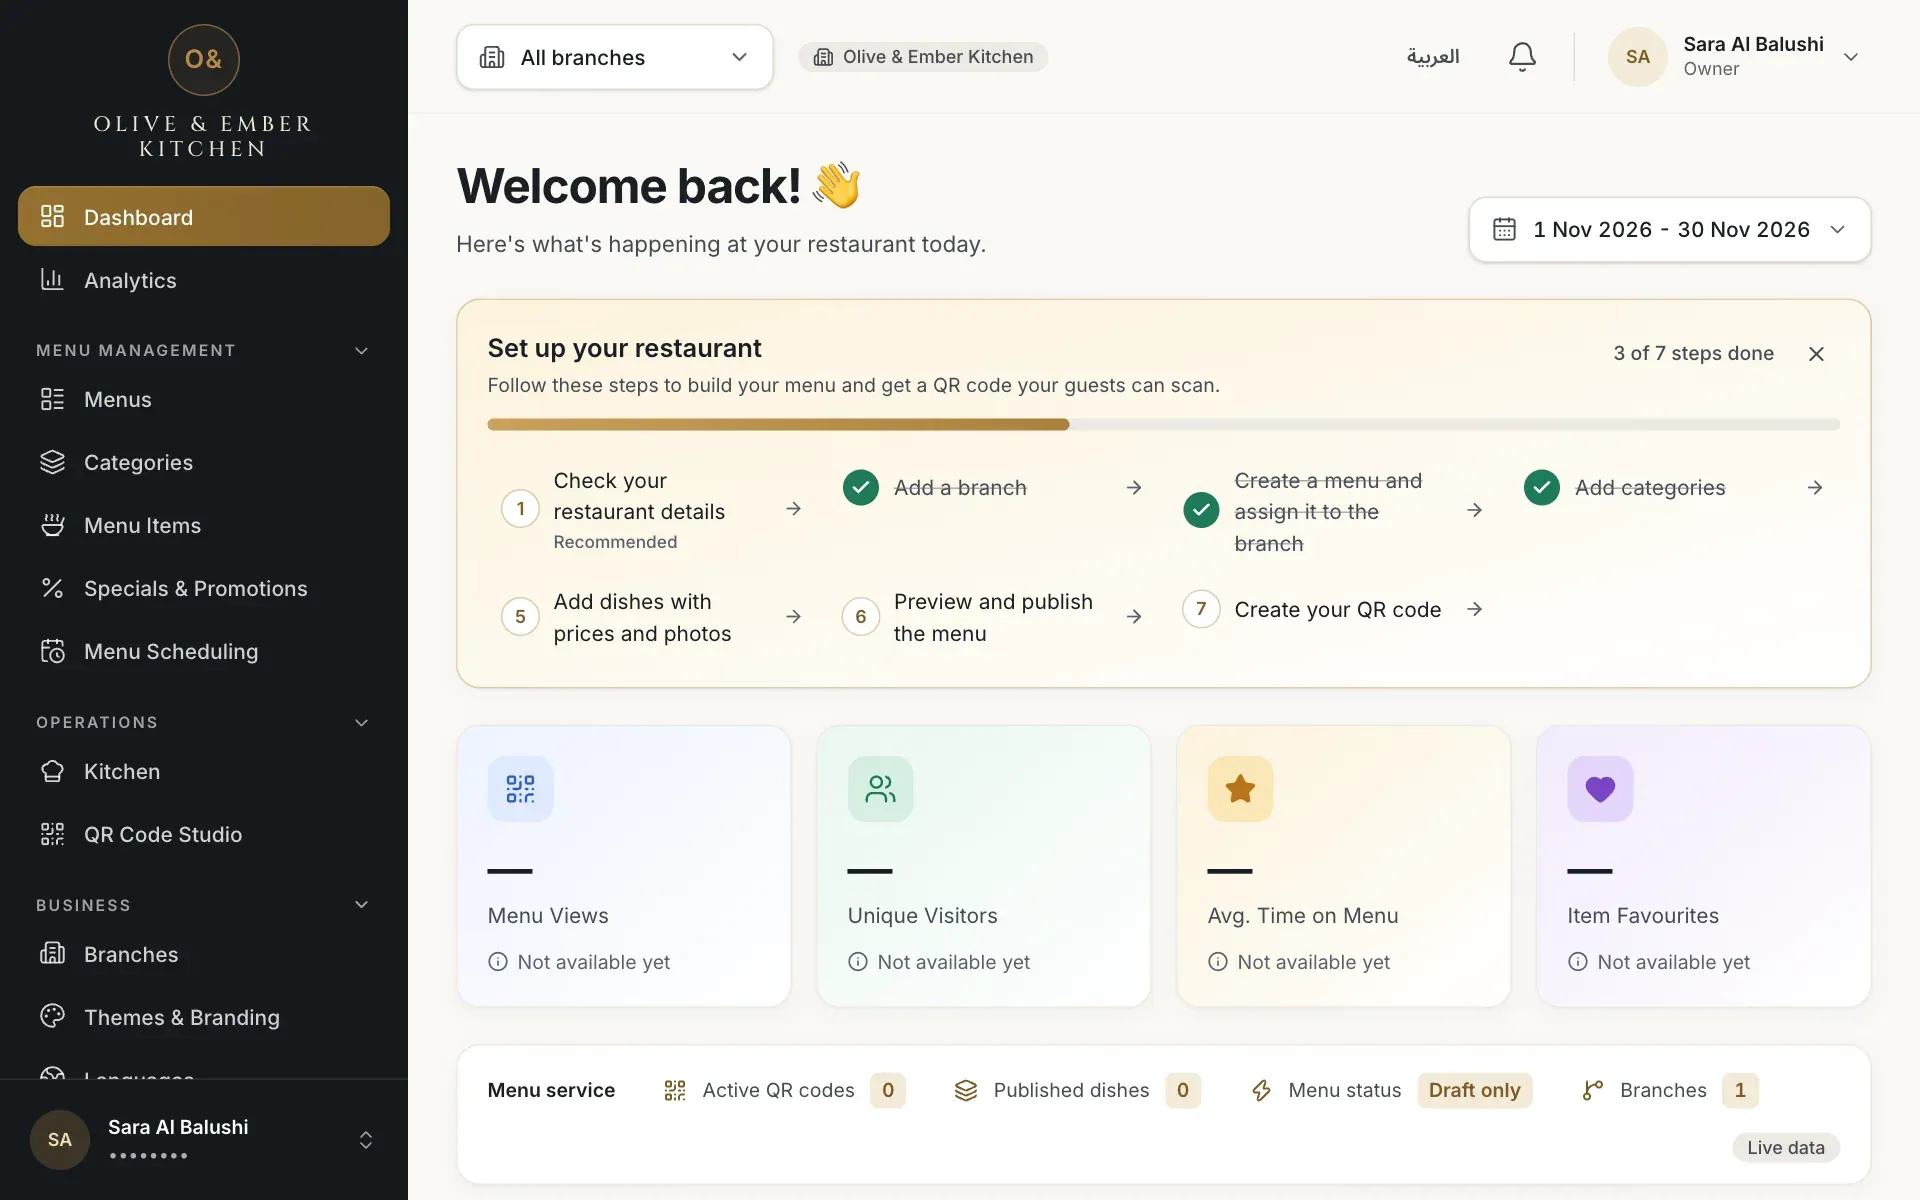
The dashboard of a new restaurant shows a panel called Set up your restaurant. It follows your real data: a step is ticked when the thing exists, not when you click it. The panel hides by itself once the essential steps are done, and the cross in its corner (Dismiss the setup steps) hides it for the current visit.
Read the checklist
Open Dashboard. The panel counts the steps, for example 3 of 7 steps done, and each step is a link. The first step, Check your restaurant details, is marked Recommended; the other six are needed before guests can scan.
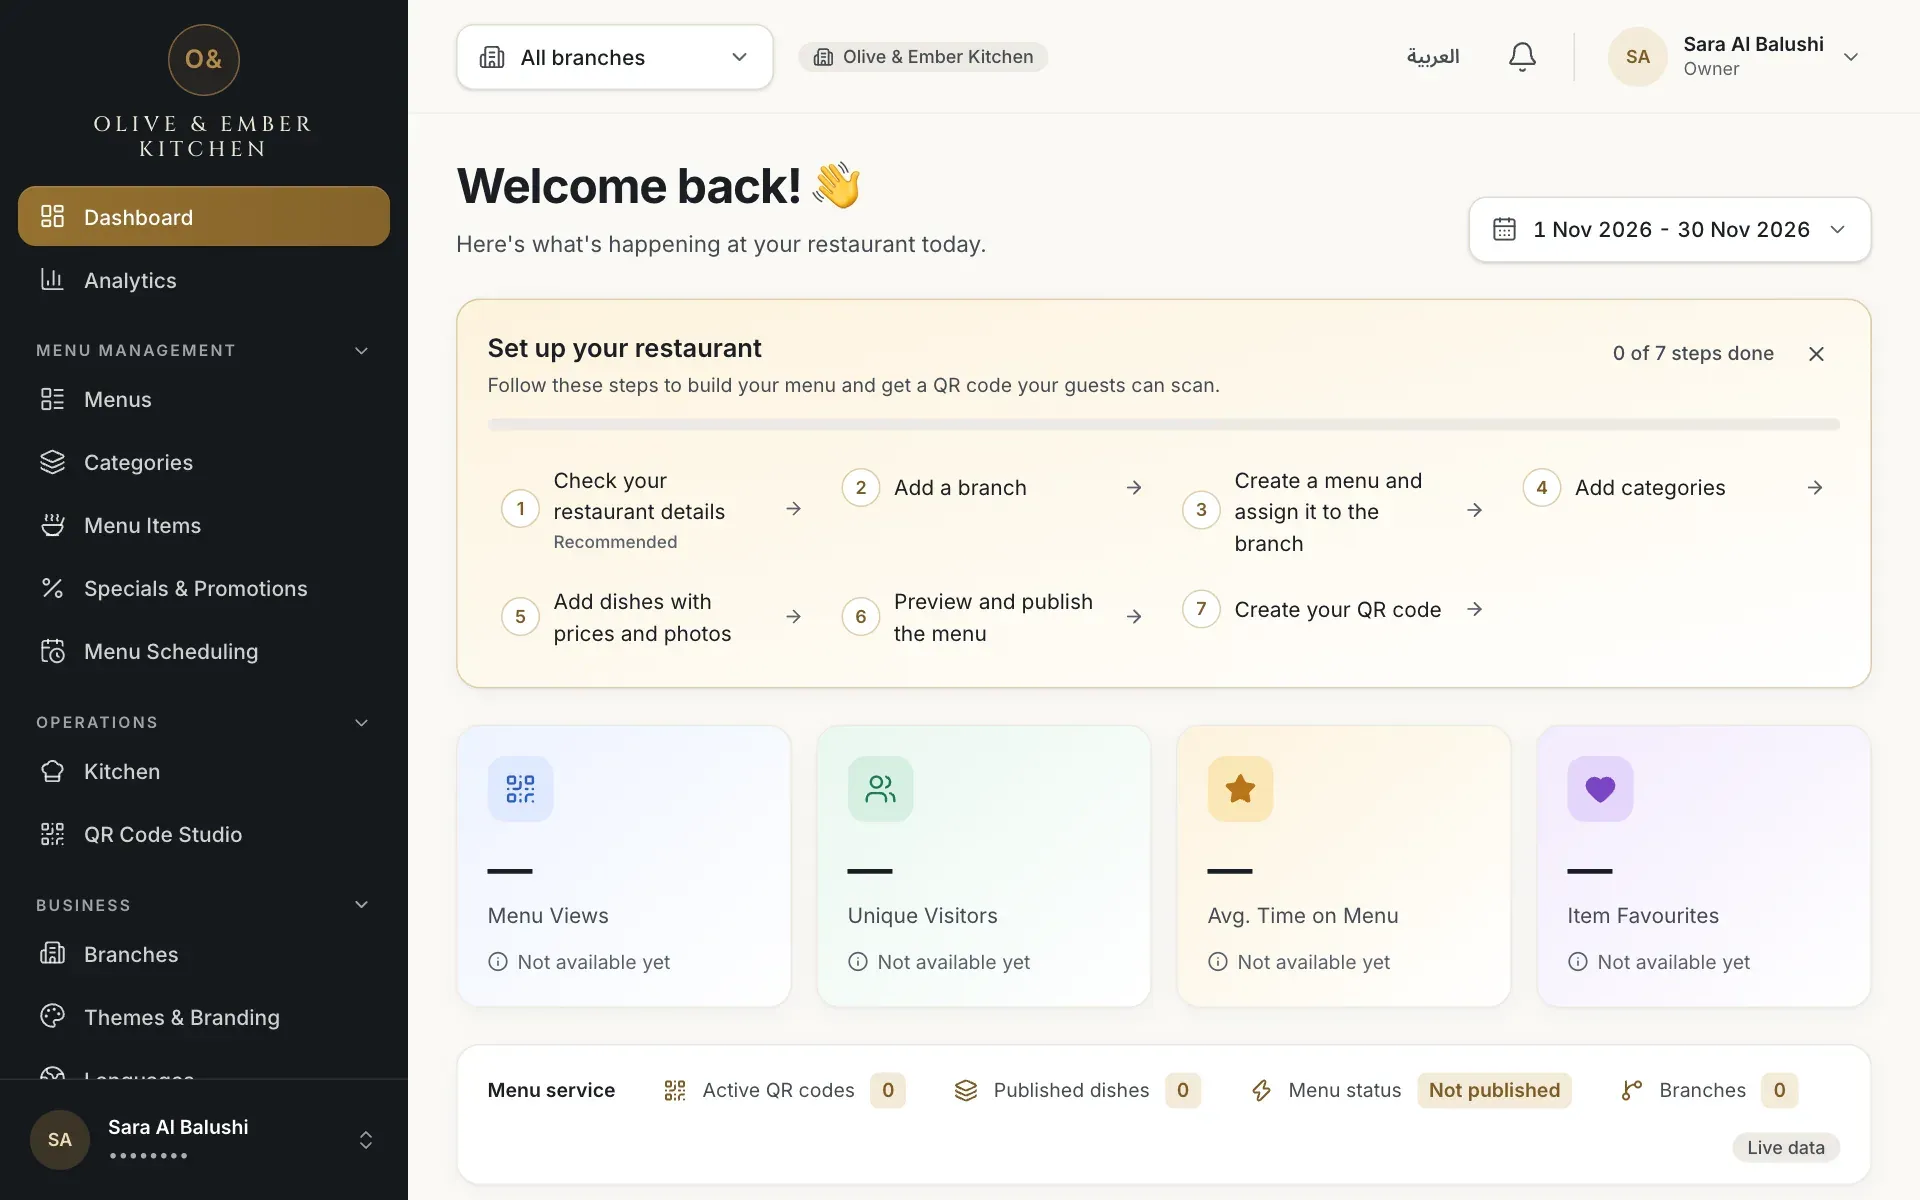
- Check your restaurant details
- Add a branch
- Create a menu and assign it to the branch
- Add categories
- Add dishes with prices and photos
- Preview and publish the menu
- Create your QR code
Check your restaurant details
This opens Restaurant Settings. Fill in the Restaurant profile: Arabic name, taglines and contact details. Read Restaurant profile.
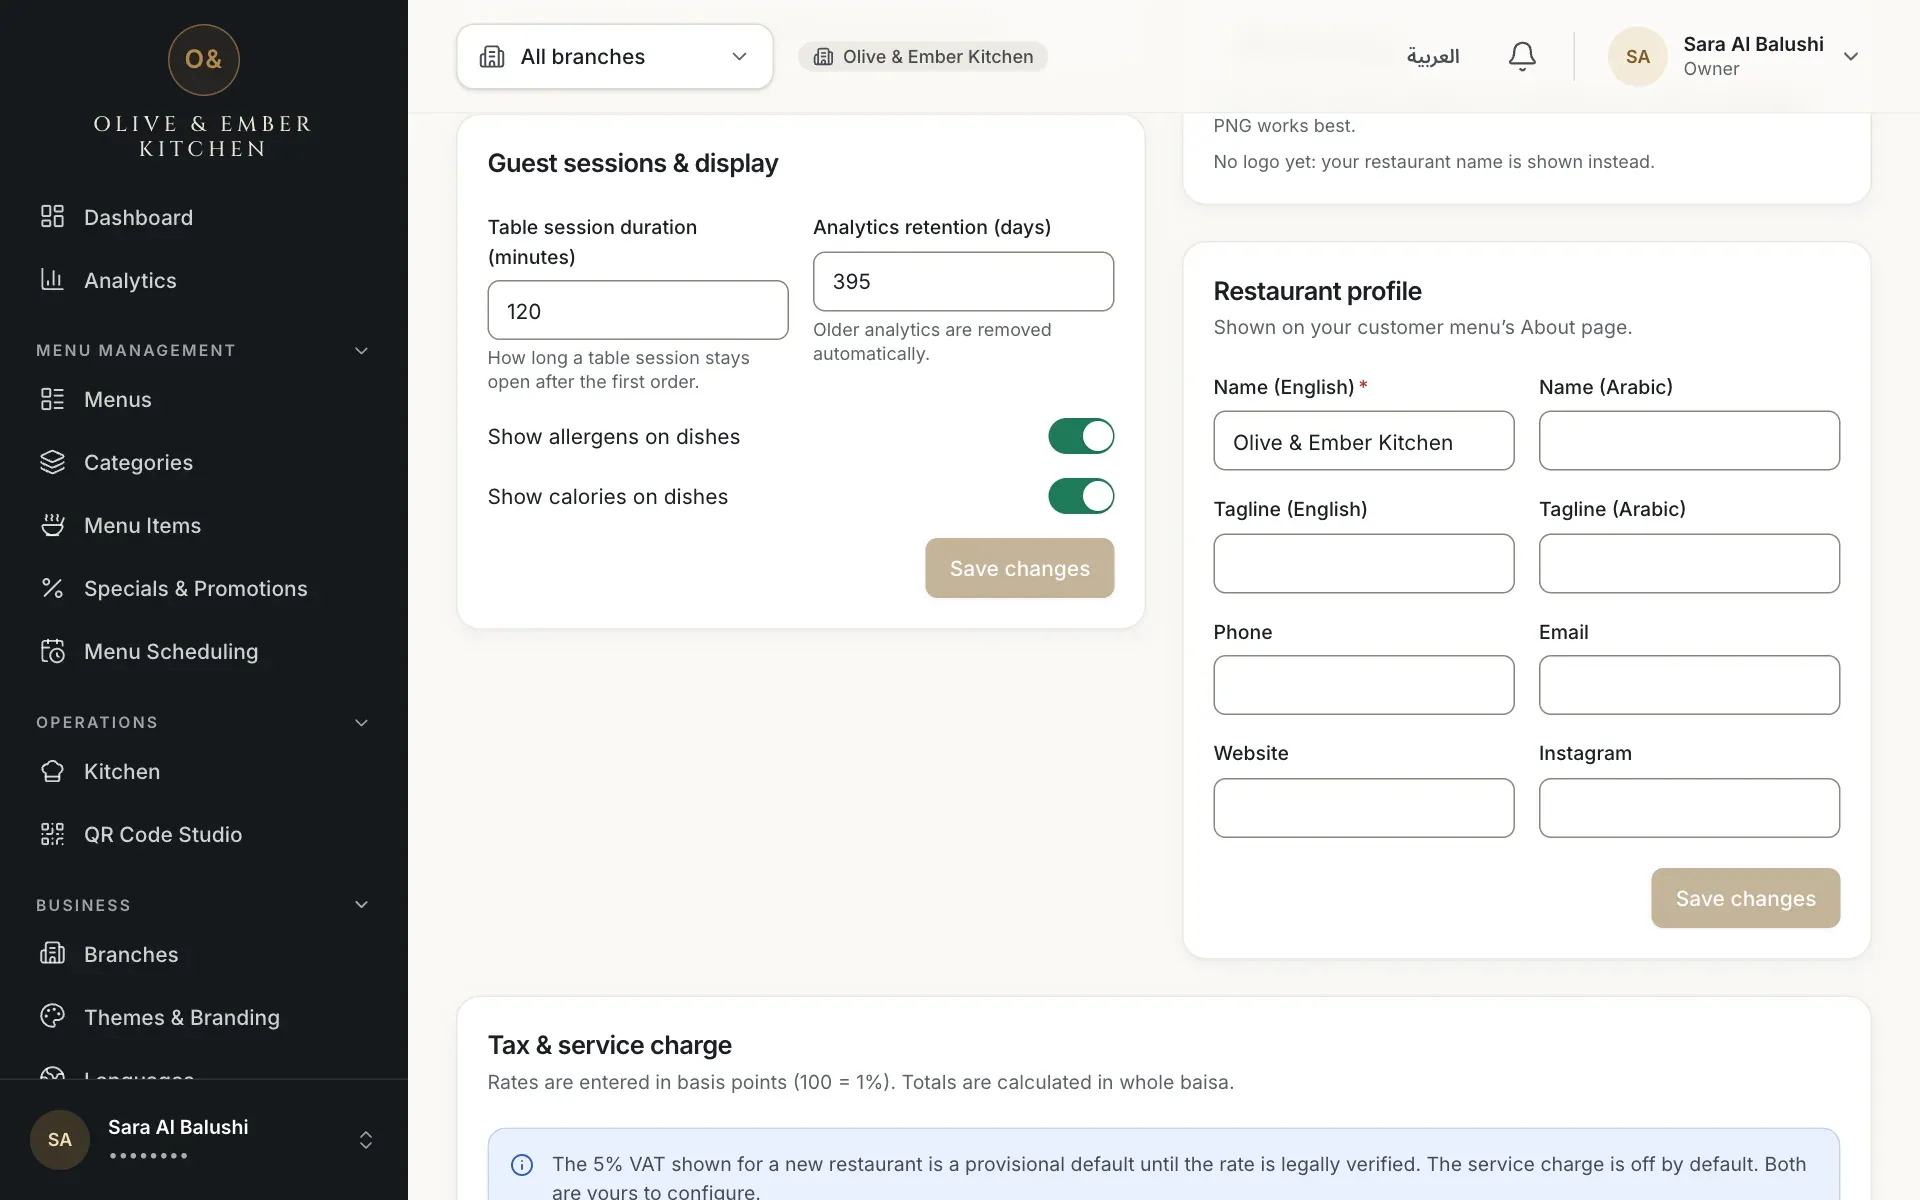
- The Restaurant profile card
Add a branch
This opens Branches. A new restaurant has no branch, so click Add branch. Everything that guests see, such as the menu, the opening hours and the table codes, belongs to a branch. Read Add a branch and then Opening hours.
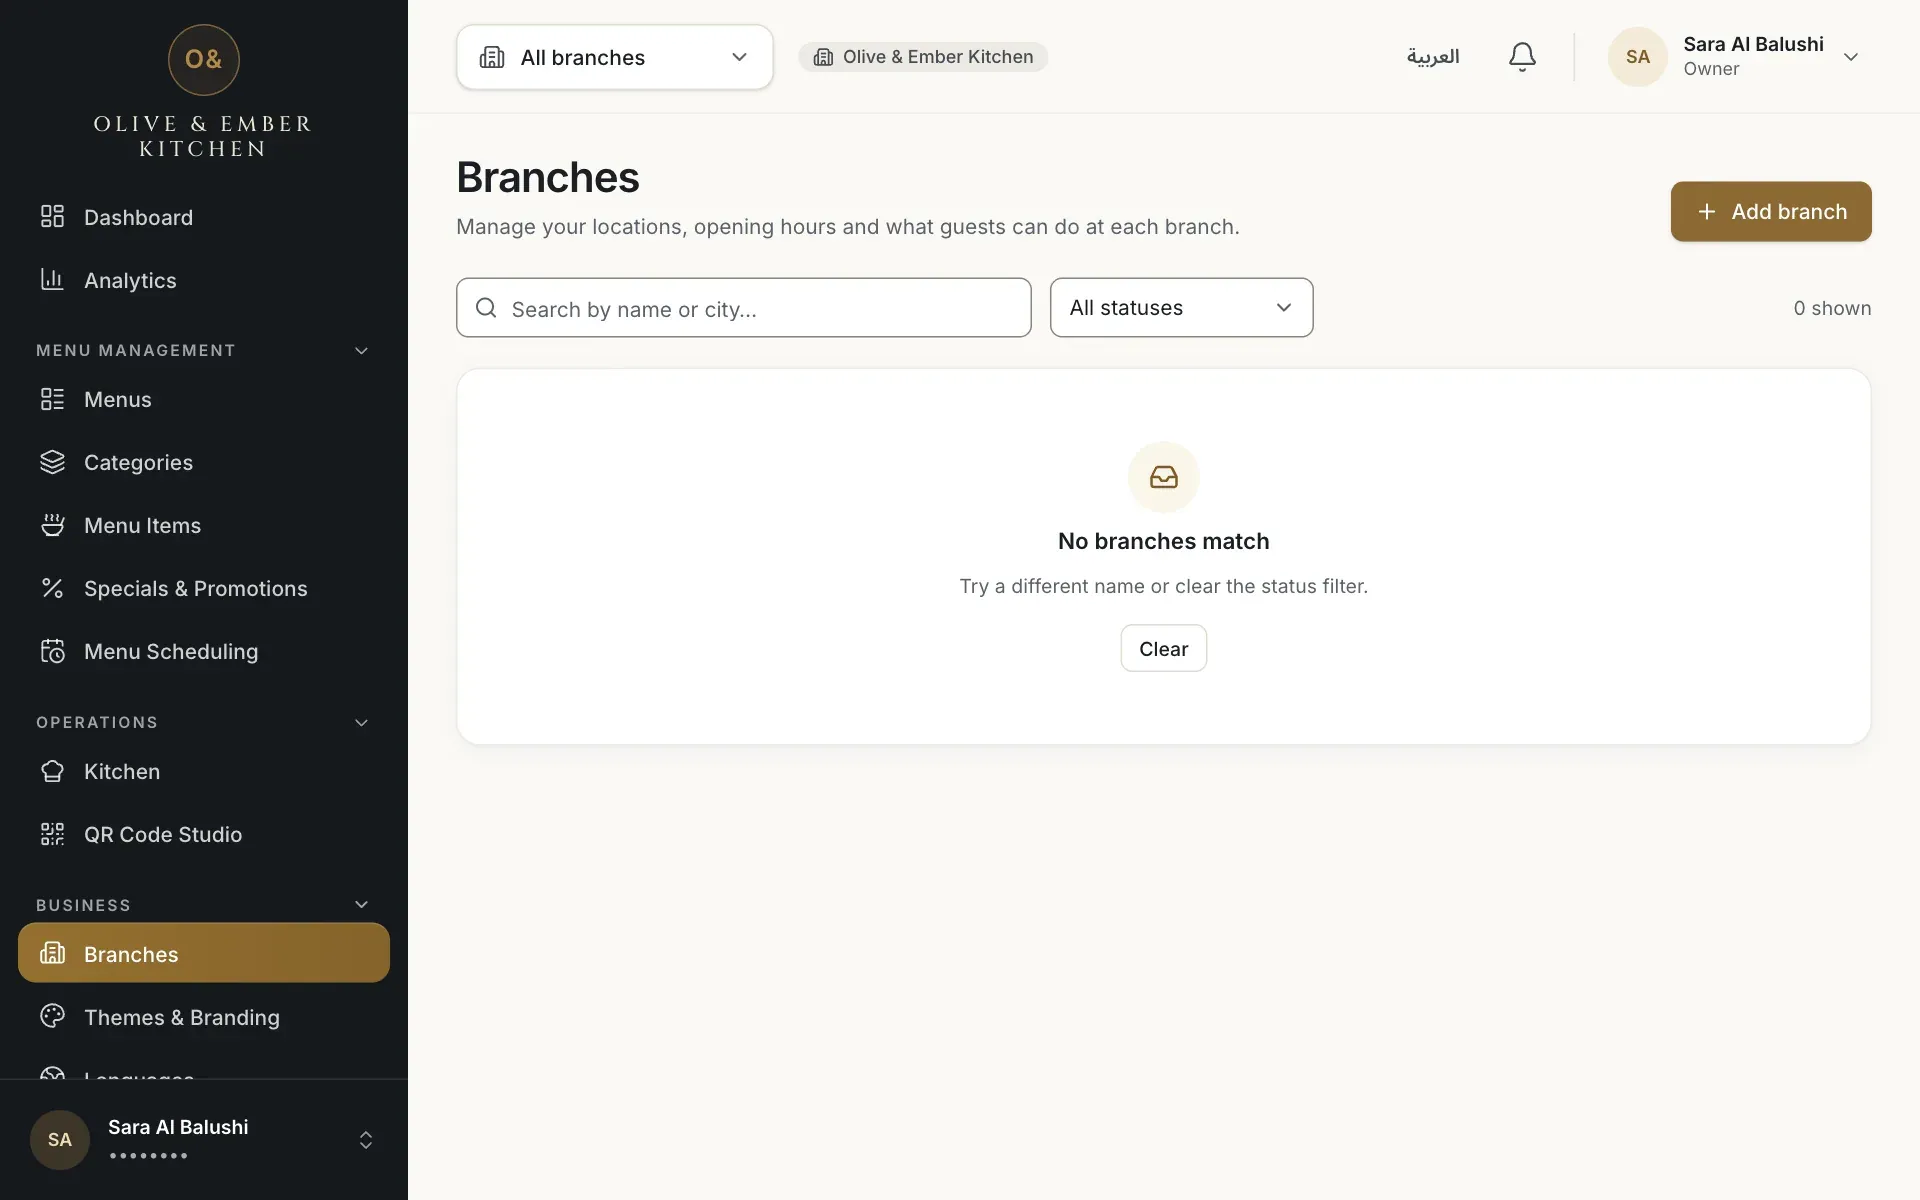
- The Add branch button
Create a menu and assign it to the branch
This opens Menus. Click Create menu and give it a name in English and Arabic. Then use the Branches action of the menu to choose where it is served; a published menu goes live at a branch as soon as it is assigned. Read Menus and drafts.
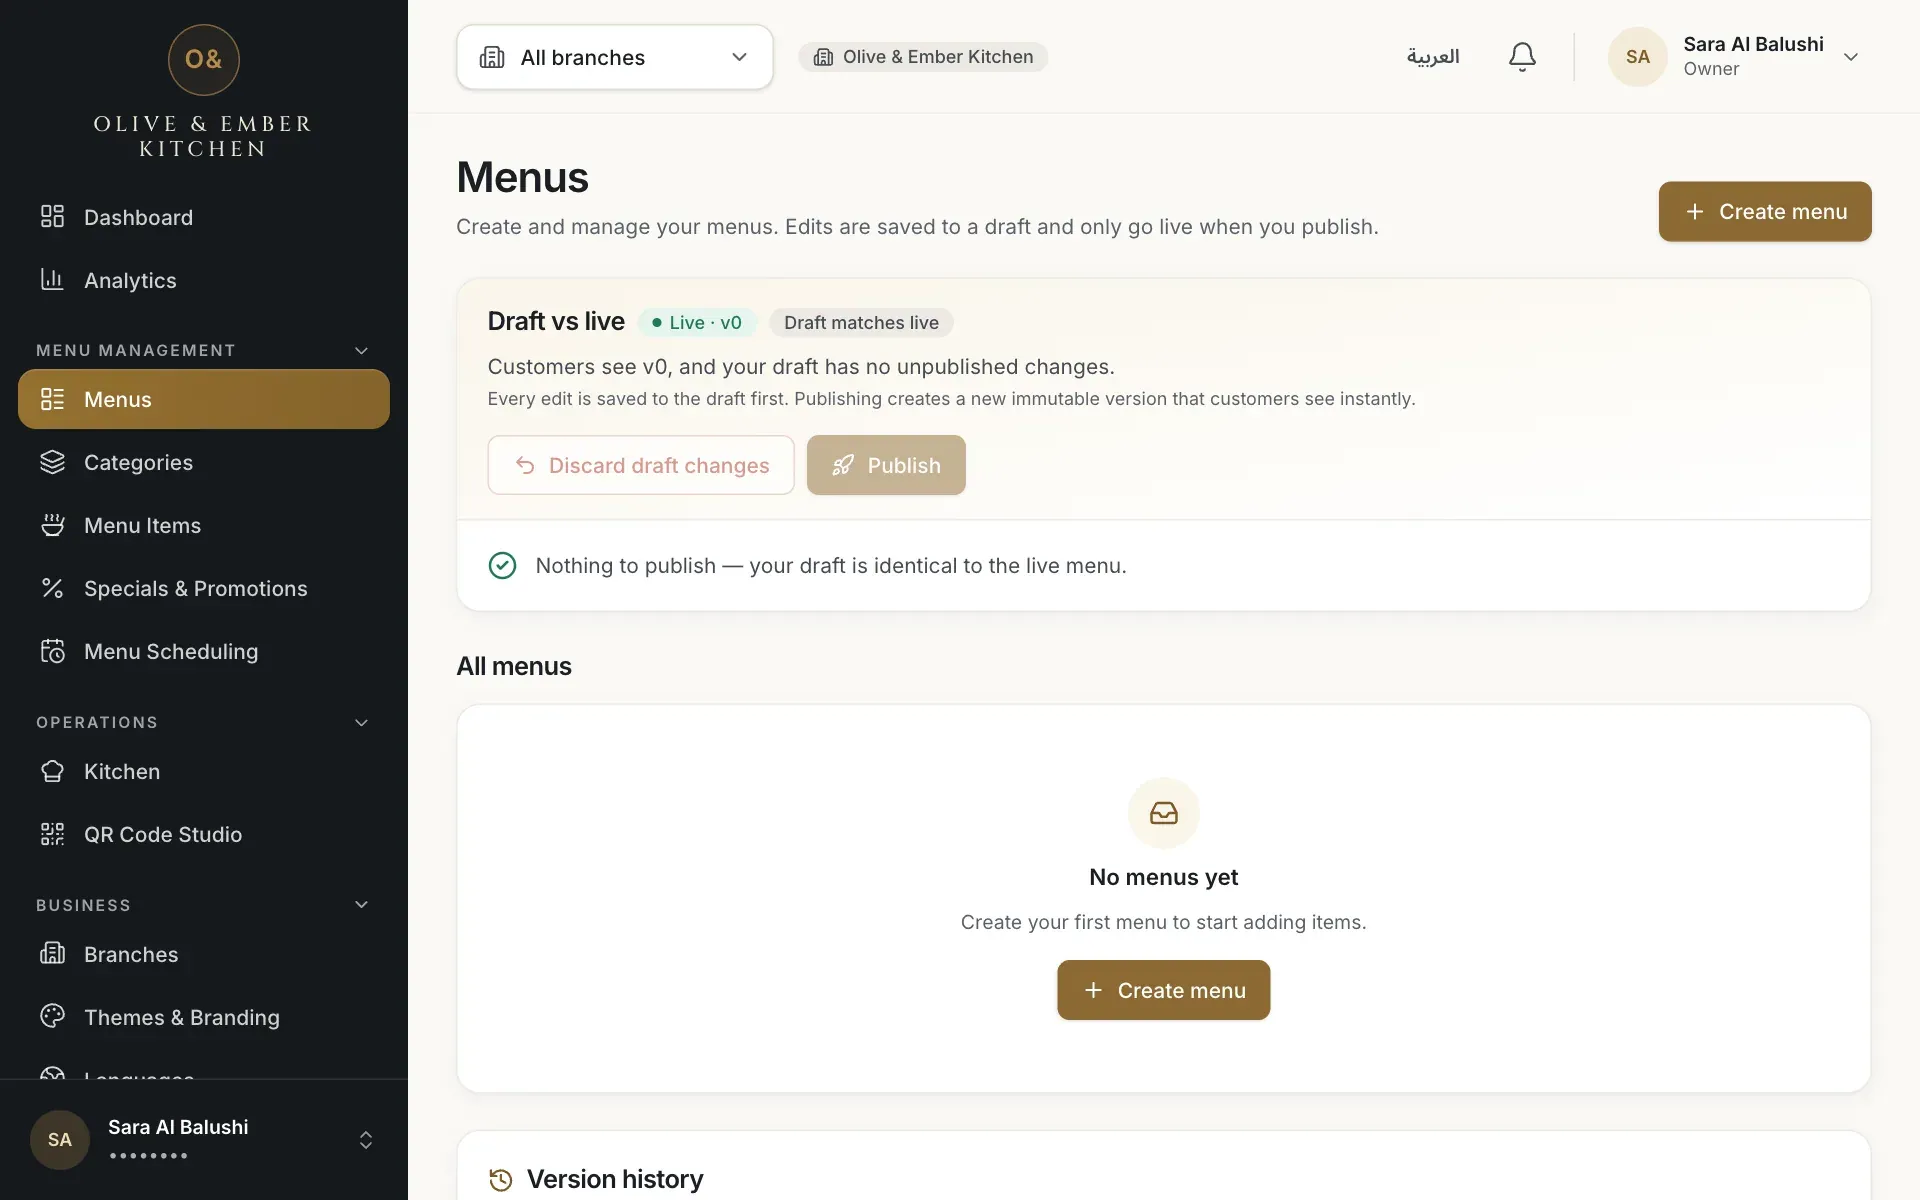
- The Create menu button
Add categories
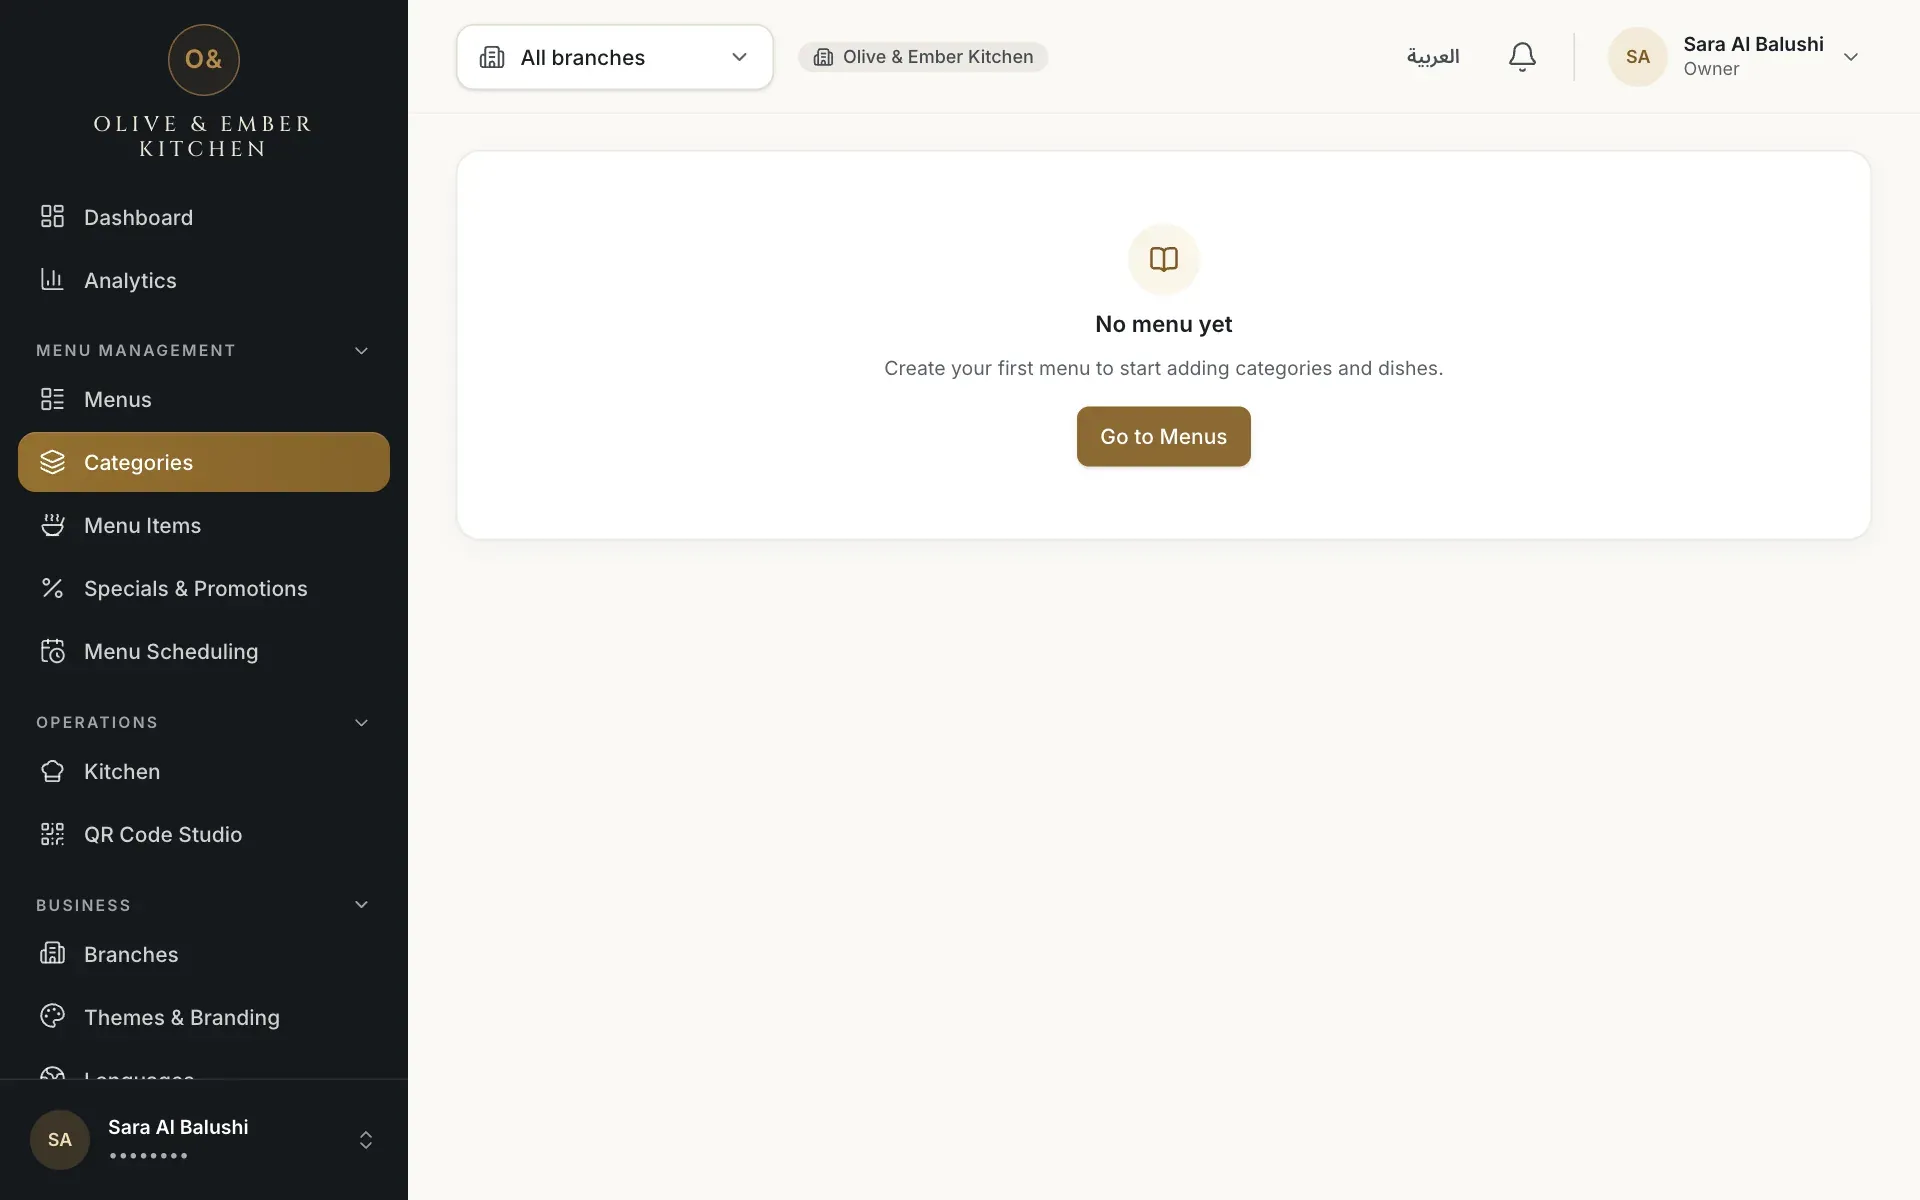
This opens Categories. Categories belong to a menu, so with no menu the page says No menu yet and the button Go to Menus takes you back to the previous step. Read Manage categories.
- The Go to Menus link
Add dishes with prices and photos
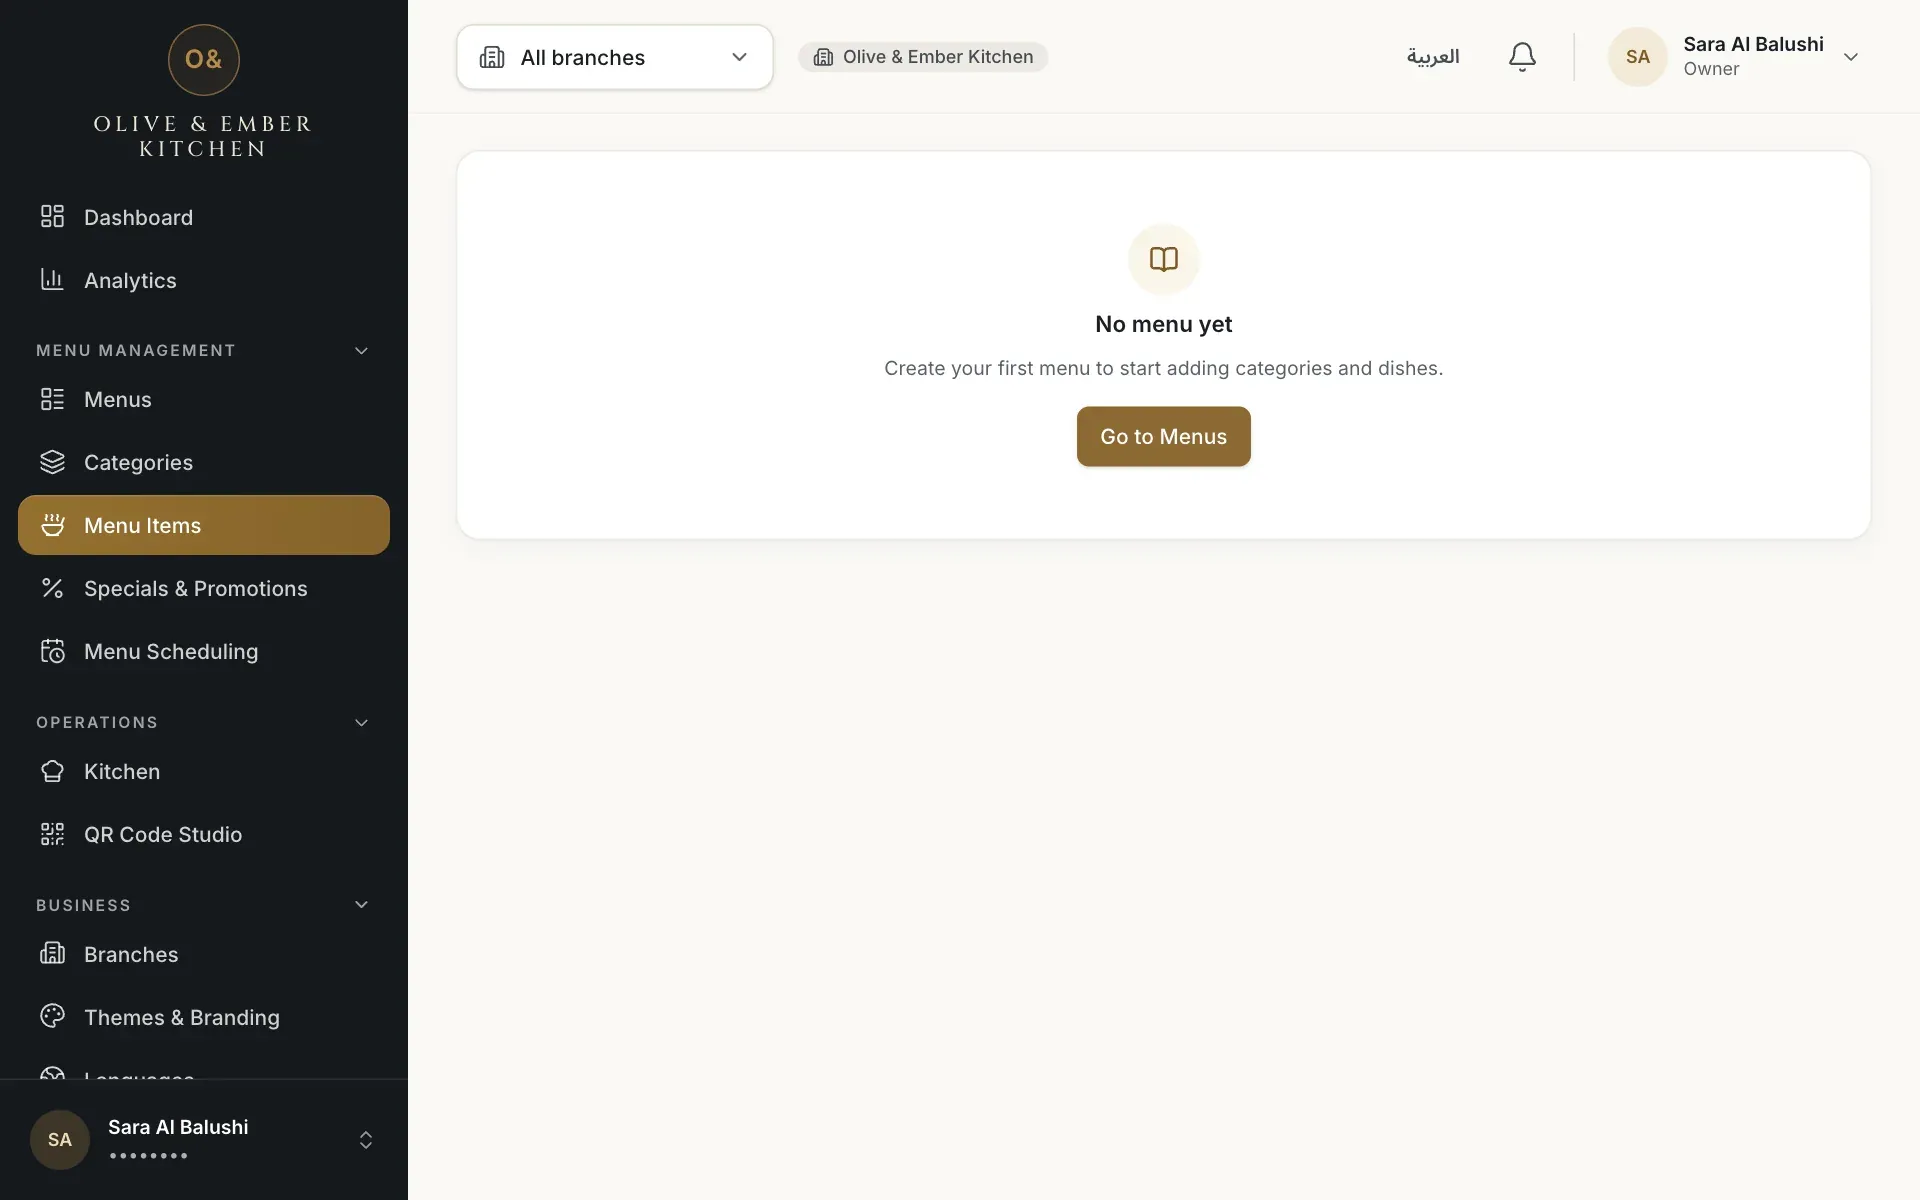
This opens Menu Items, which also needs a menu. Add each dish with names in both languages, a price in OMR and a photo. Read Add dishes and Upload dish photos.
- The Go to Menus link
Preview and publish the menu
This step returns to Menus. Guests keep seeing the last published version until you publish, so review your draft and click Publish. Read Publish your menu.
Create your QR code
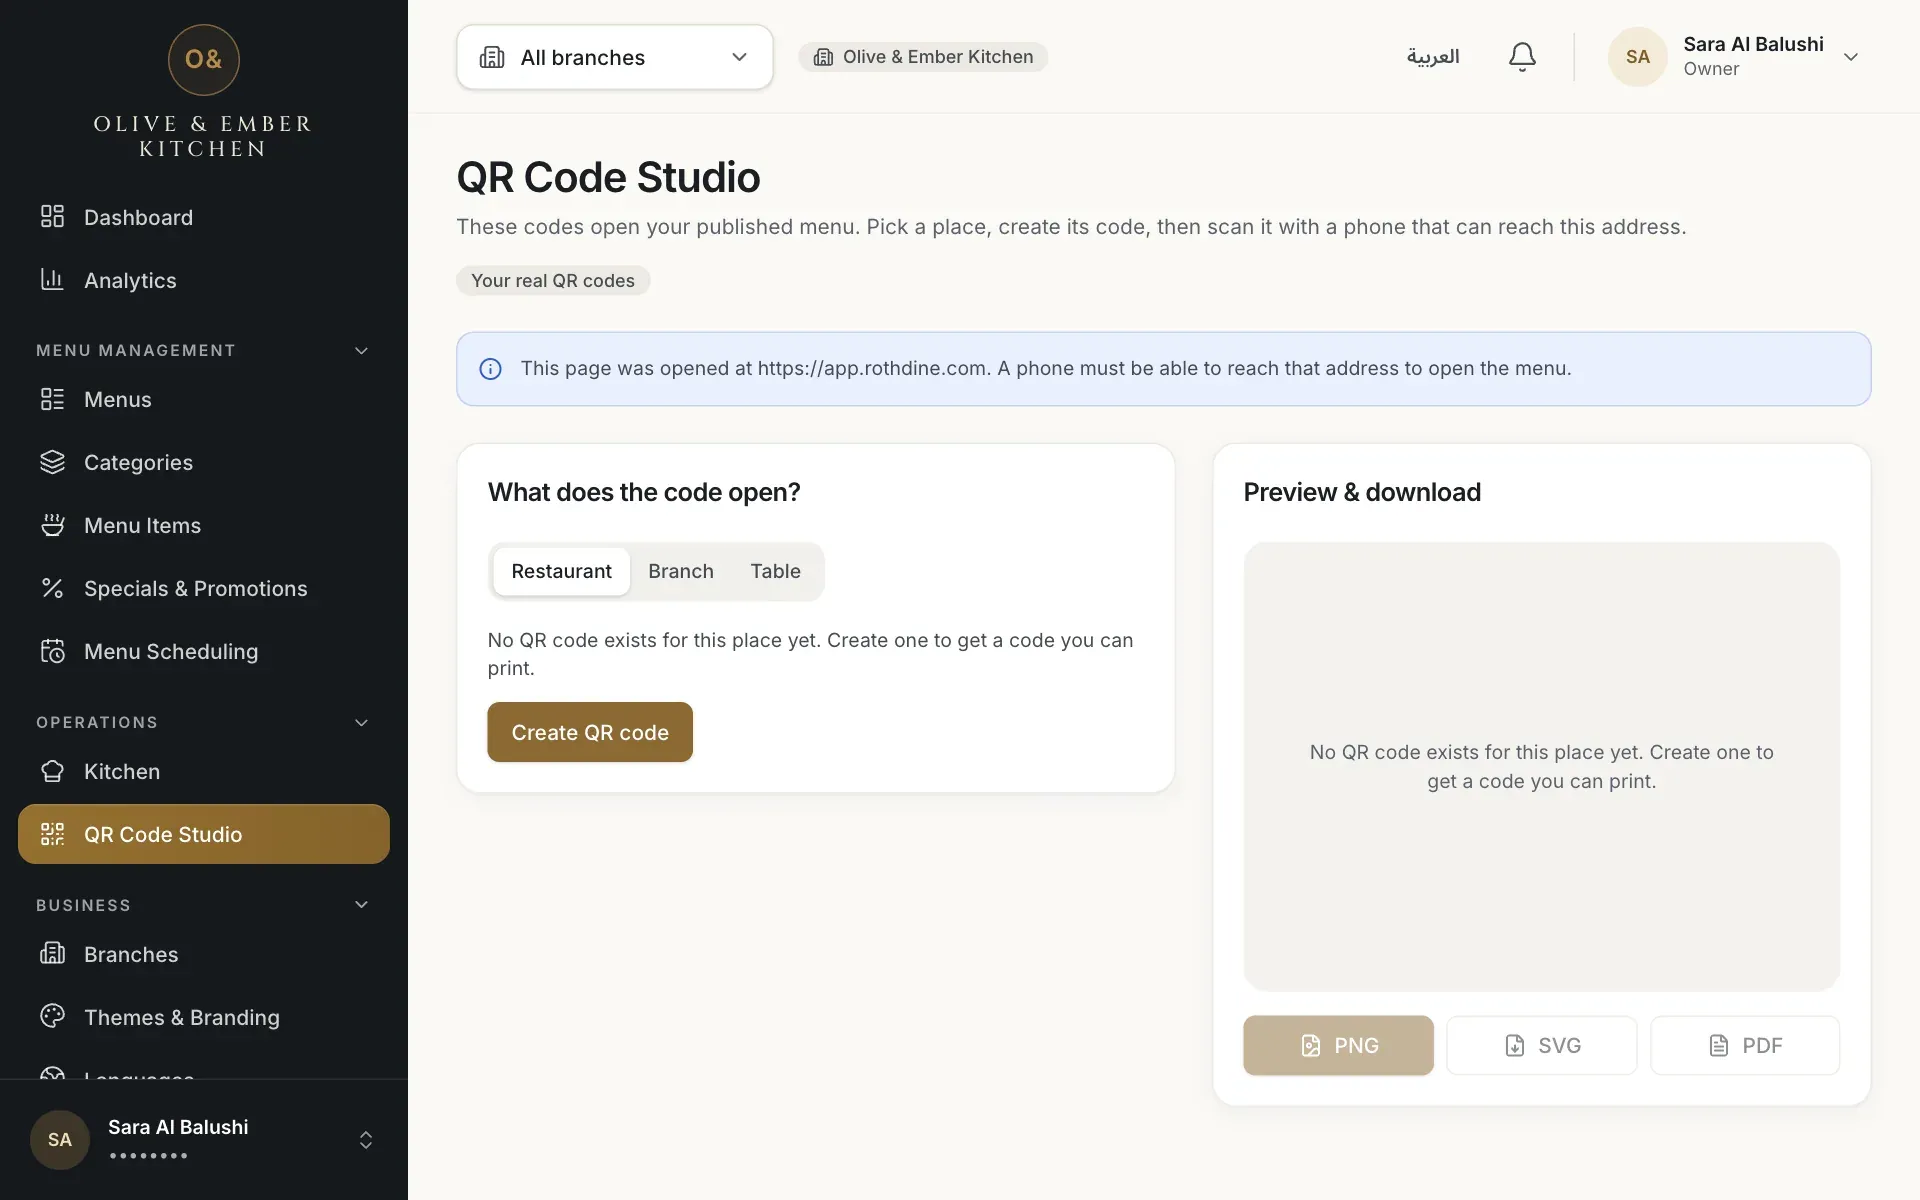
This opens QR Code Studio. Choose Restaurant, Branch or Table and click Create QR code. Branch and table codes need a branch first. Read Create QR codes and Print and download QR codes.
- The Create QR code button
Watch the progress
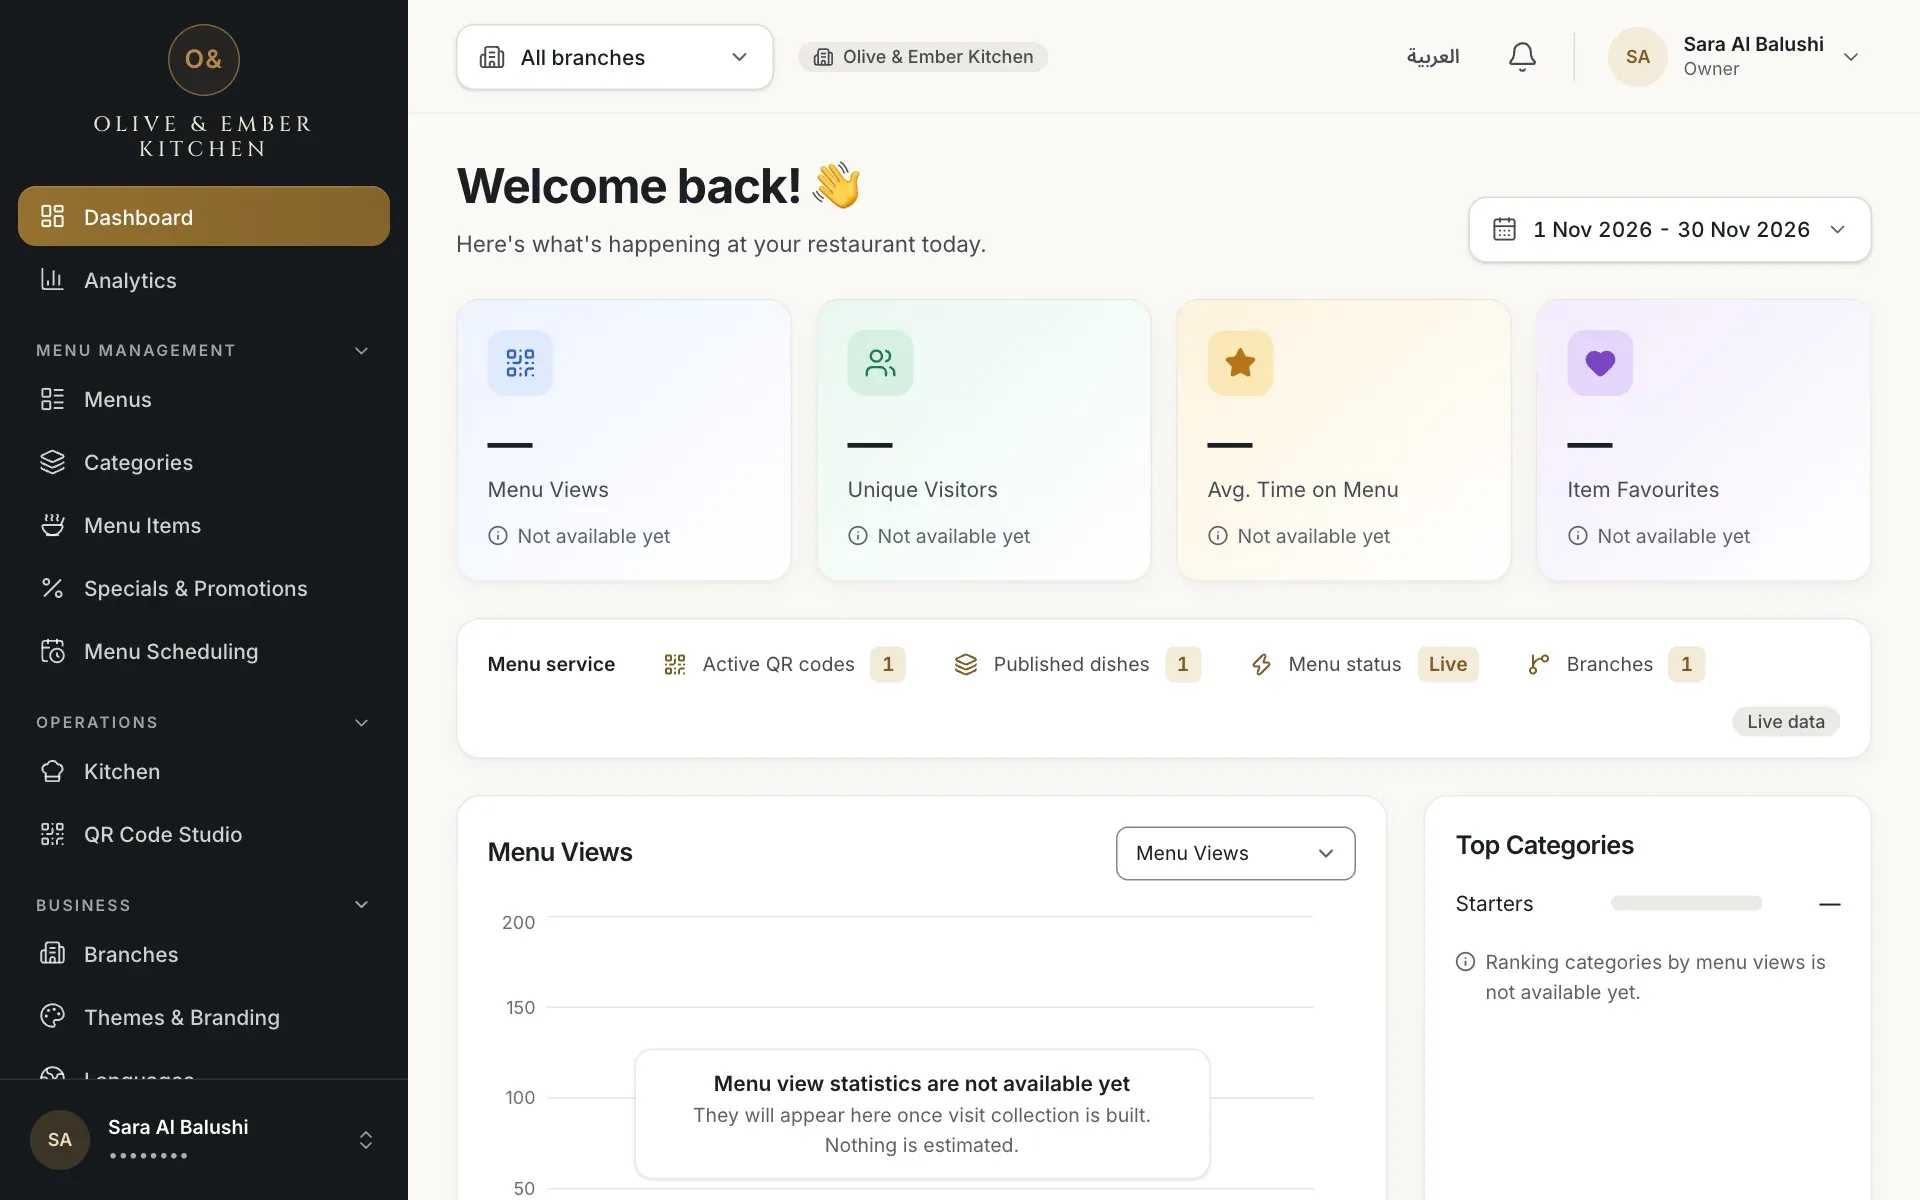
As you work, the steps tick off. Below, a branch, a menu assigned to it and a category are done, so the panel shows 3 of 7 steps done. When the essential steps are finished, the panel disappears and the dashboard shows your real numbers: active QR codes, published dishes, menu status and branches.
- The progress counter
- Add dishes with prices and photos, still to do
- Preview and publish the menu, still to do
From zero to live: the whole road
Work through these in order. The first six guides are the seven steps above; the rest make the restaurant ready for real guests.
- Create your account and create your restaurant.
- Restaurant profile, Add a branch and Opening hours.
- Menus and drafts, Manage categories, Add dishes and Upload dish photos.
- Publish your menu.
- Create QR codes and Print and download QR codes.
- Optional but useful: Choose a theme, Upload your logo, Operating modes, Add tables and Invite your team.
- Before the trial ends: Plans and limits.
Create the QR code on the live app
A QR code stores the address of the page where you created it. Create your real codes on app.rothdine.com, never on a test or local address.
Troubleshooting
Categories and dishes belong to a menu. Click Go to Menus, create a menu and come back.
Branch and table QR codes need a branch. Add one under Branches. A code for the whole restaurant can be created without a branch.
It hides by itself when the essential steps are done, or when you dismissed it for the visit. Reload the dashboard: if a step is still missing, the panel comes back.
Click Try again. Your data is not affected. If it keeps happening, sign in again or write to support@rothdine.com.
Related guides
- Getting startedCreate your restaurantName your restaurant, choose its web address and open your first dashboard.
- Restaurant setupAdd a branchAdd your first branch with its names, address, phone and e-mail, and understand the branch limit.
- MenuPublish your menuCheck the draft, assign the menu to a branch, publish it, read the version history, roll back, discard changes or take a menu away.
- Tables & QR codesCreate QR codesCreate a QR code for your restaurant, a branch or a single table, and see what a guest gets when scanning it.