
Operating modes
Choose what guests can do at your restaurant (A, B or C), apply it to all branches or override one branch.
- Goal
- Your restaurant, and each branch, runs in the operating mode you want: menu only, menu with waiter calls, or full table ordering.
- Before you start
- A restaurant and at least one branch
- Owner or admin access
The operating mode decides what guests can do after they scan a QR code, and which staff screens you get. You set a default for the restaurant and you can override it for one branch.
| Mode | Name | What guests can do | Staff screens it adds |
|---|---|---|---|
| A | Menu viewer only | Browse the menu. Orders are taken verbally. | none |
| B | Menu + waiter | Everything in A, plus Call waiter, Need assistance and Request bill (a request to staff, never a payment). | Table Management, Waiter Requests |
| C | Full table ordering | Everything in B, plus cart, sizes, add-ons, sending an order and following it. | Live Orders (and the Kitchen board) |
Open the Operating mode card
Open Restaurant Settings. The card Operating mode is at the top with three cards, A, B and C. The current mode is ticked and marked Current.
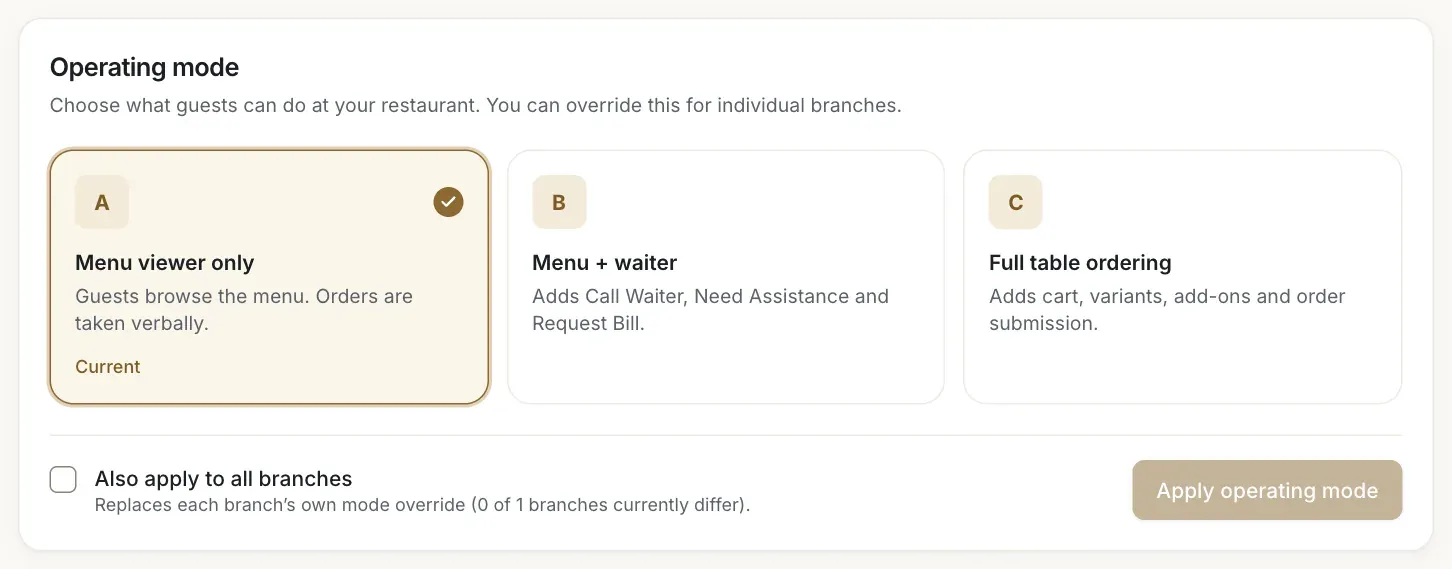
- Mode A: Menu viewer only
- Mode B: Menu + waiter
- Mode C: Full table ordering
Choose a mode and apply it
Click the mode you want, then click Apply operating mode. The button stays grey until you pick something different from the current mode. A notice confirms the change.
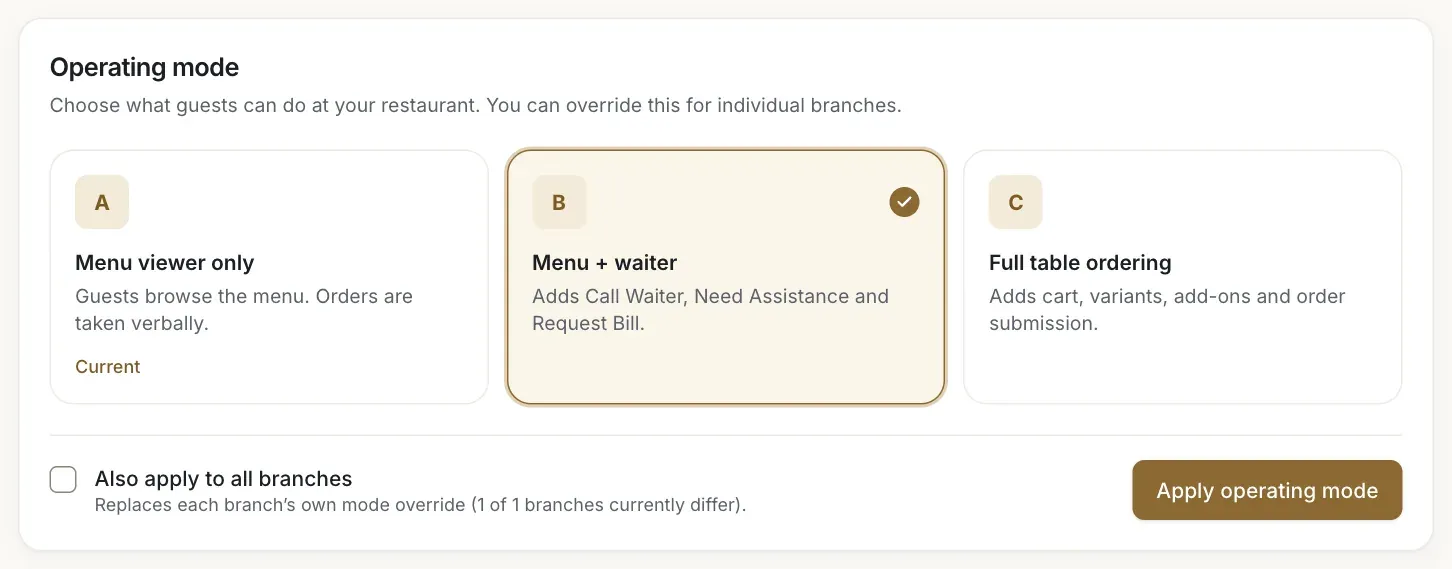
- Mode B selected
- The Apply operating mode button
Apply it to every branch, if you want
Branches can have their own mode. Tick Also apply to all branches to replace every branch's own mode with the one you chose. The hint under the box says how many branches currently differ. Without the tick, only the restaurant default changes.
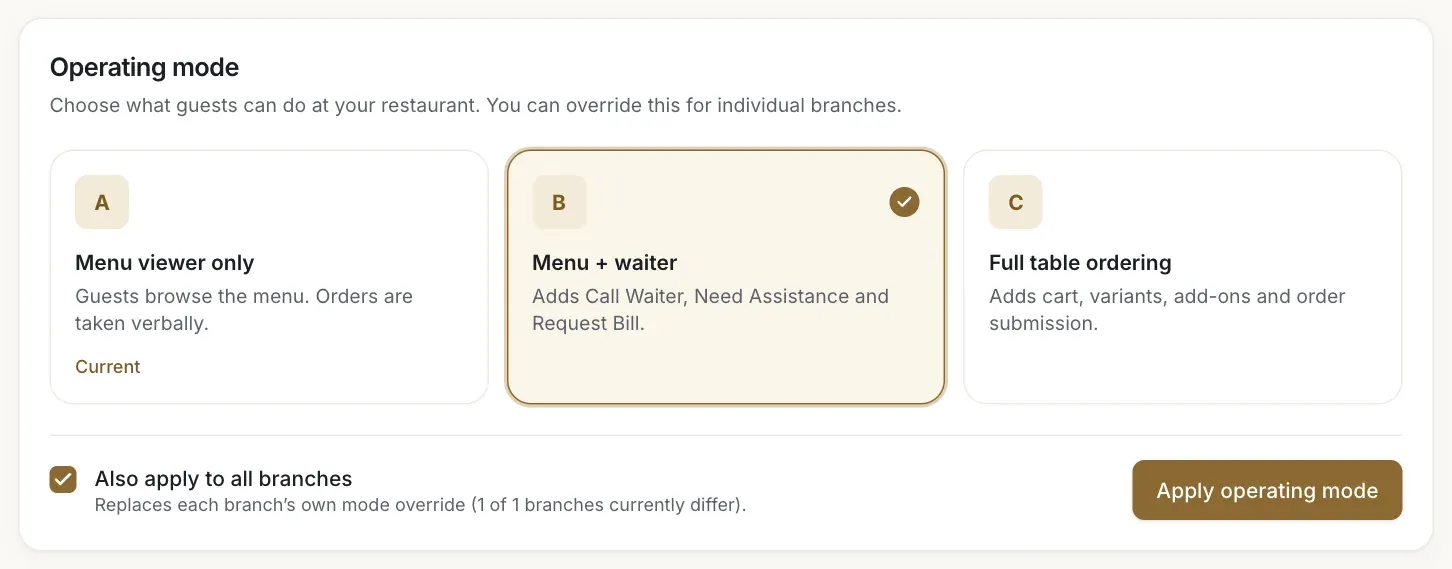
- The Also apply to all branches box
- The Apply operating mode button
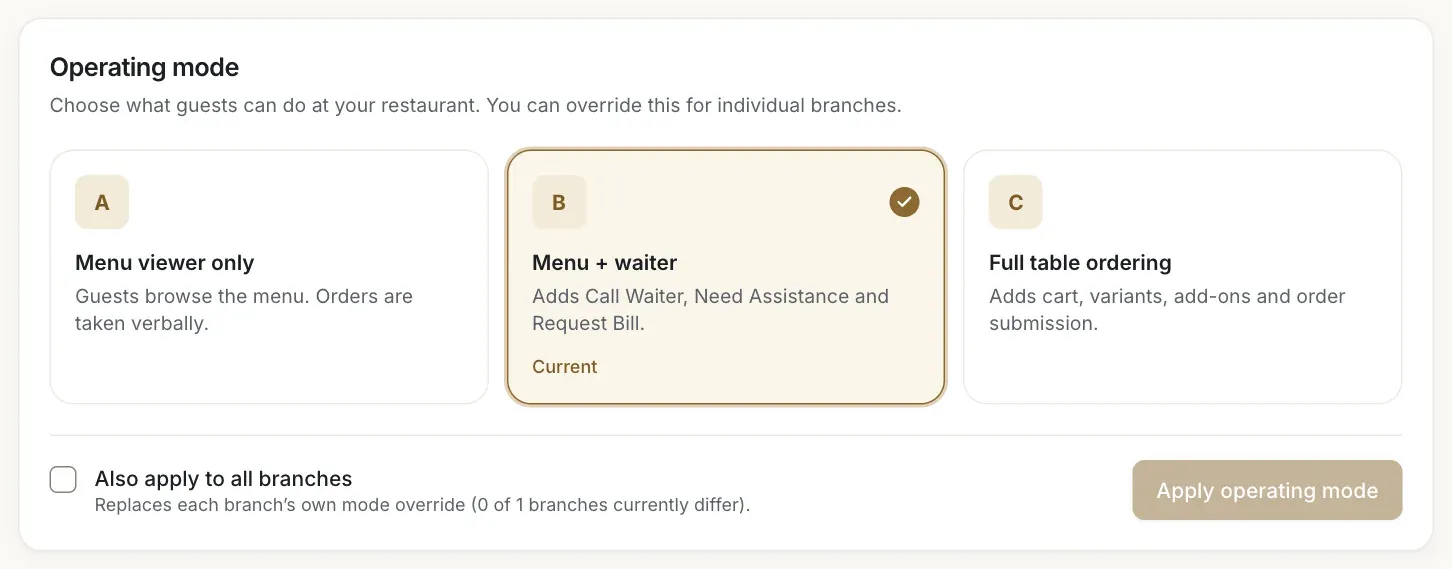
- Mode B marked Current
Override one branch
Open the branch under Branches and Manage branch. The field Operating mode in the branch details overrides the restaurant default for this branch only. Change it and click Save changes.
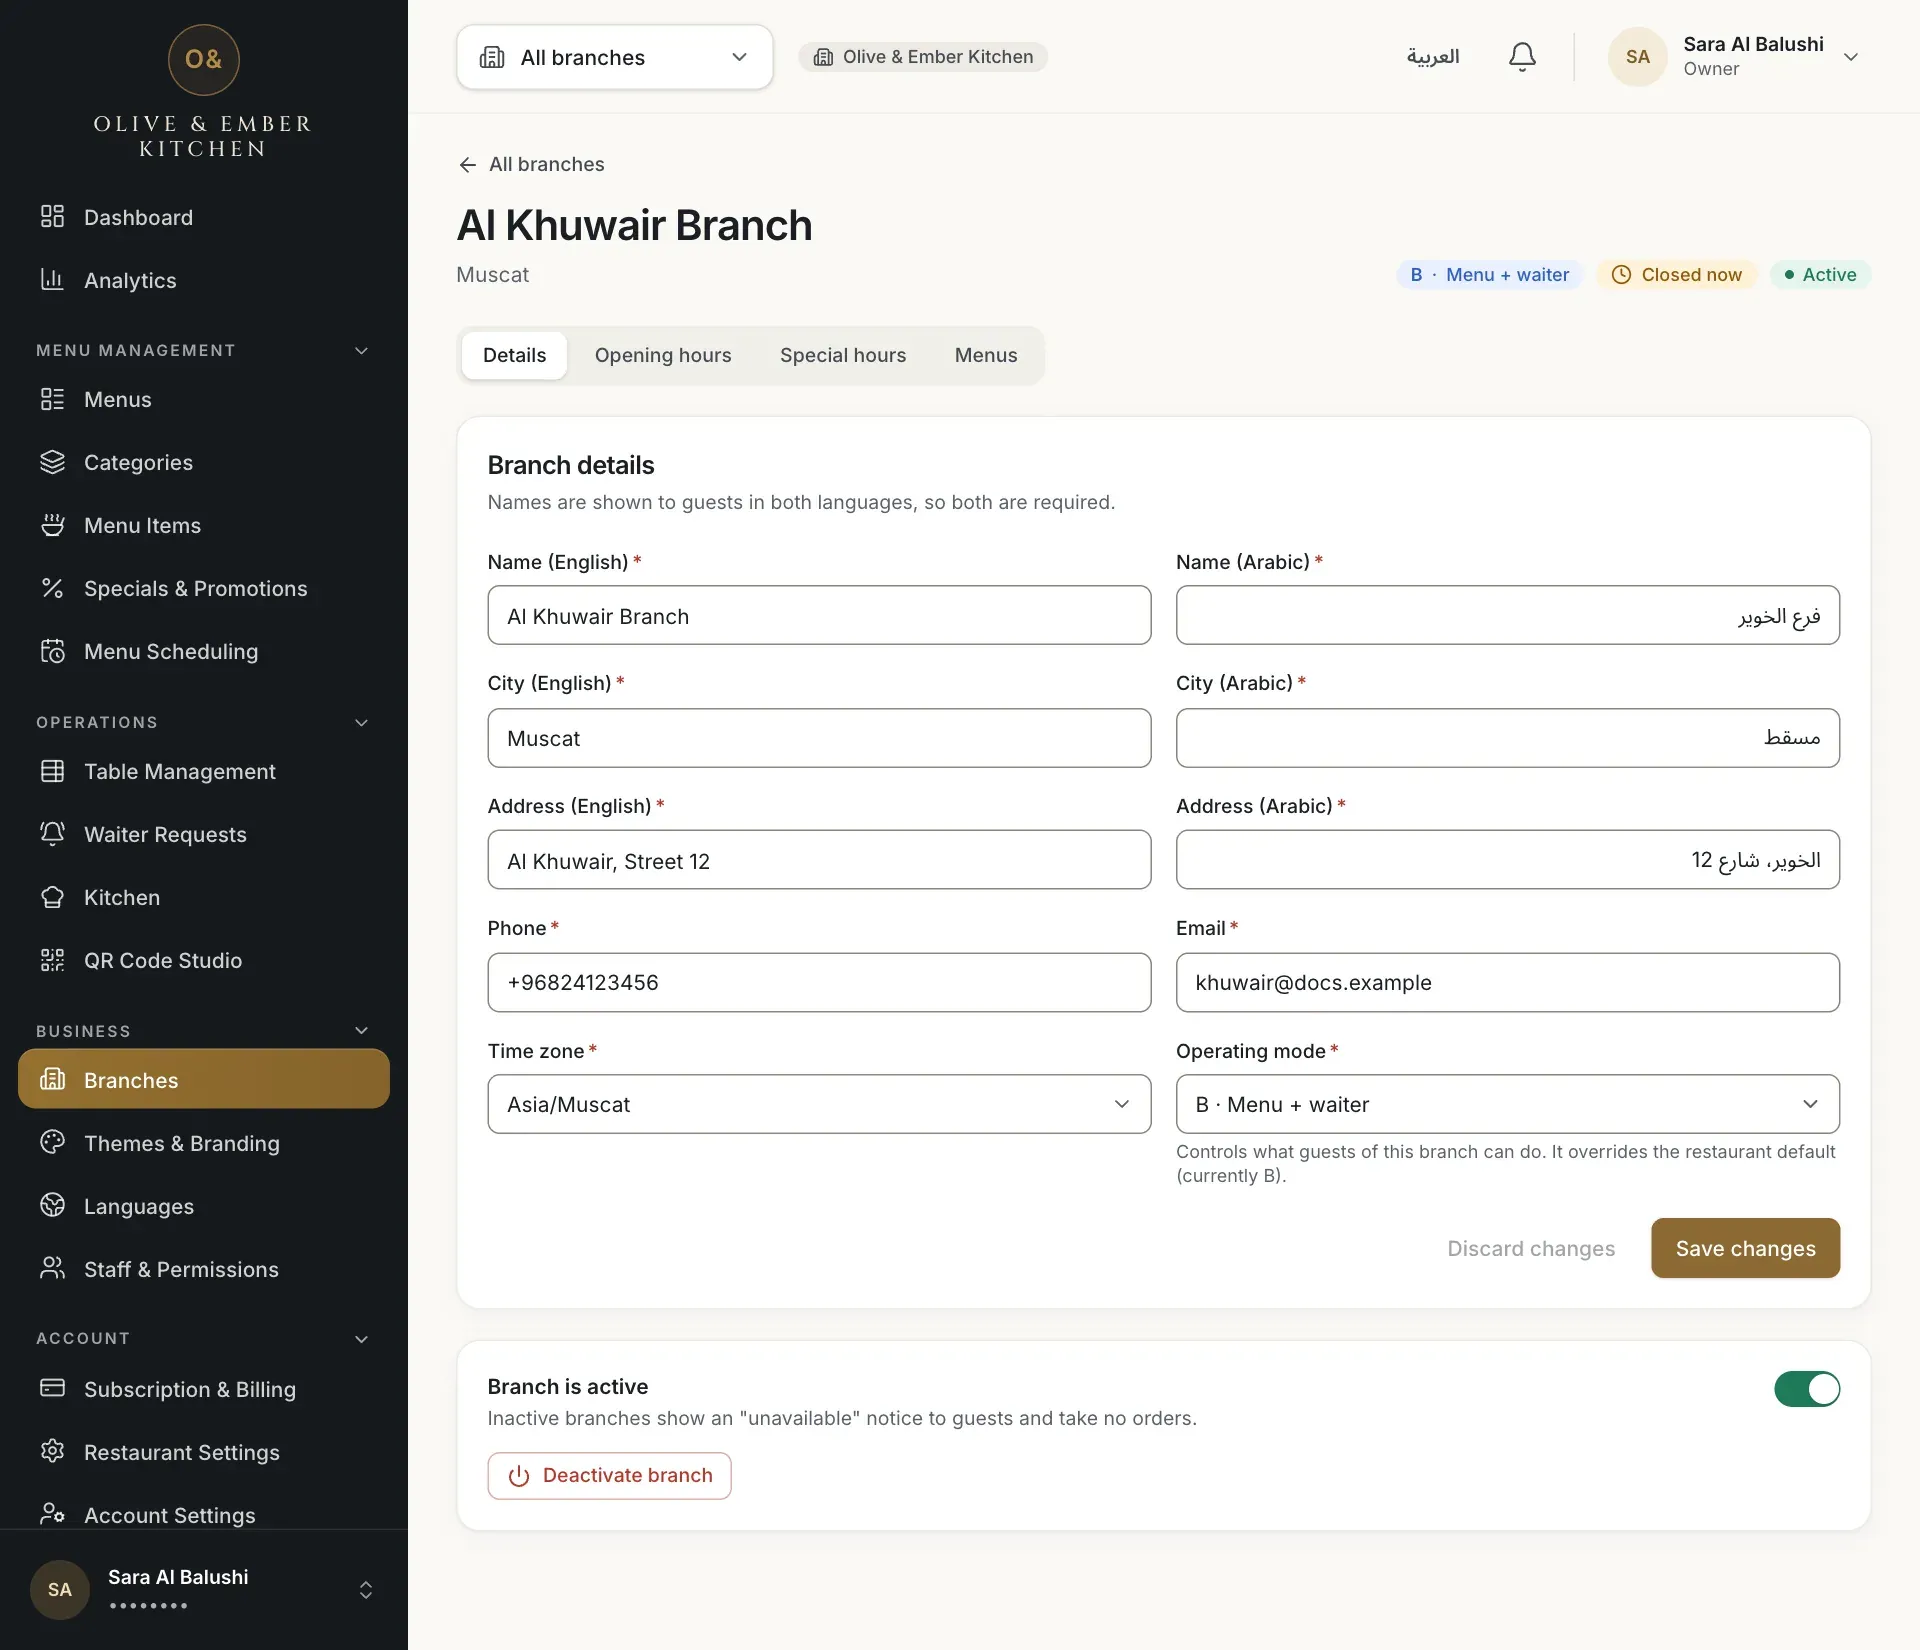
- The Operating mode field of the branch
When your plan does not include a mode
The three modes are included in the free trial and in Business. Professional includes A and B, and Starter includes only A. Every card can be clicked, but when your plan does not include the mode, Apply operating mode is refused with A limit has been reached for this account. and the mode does not change. After a free trial ends, Mode C is paused until you choose a plan.
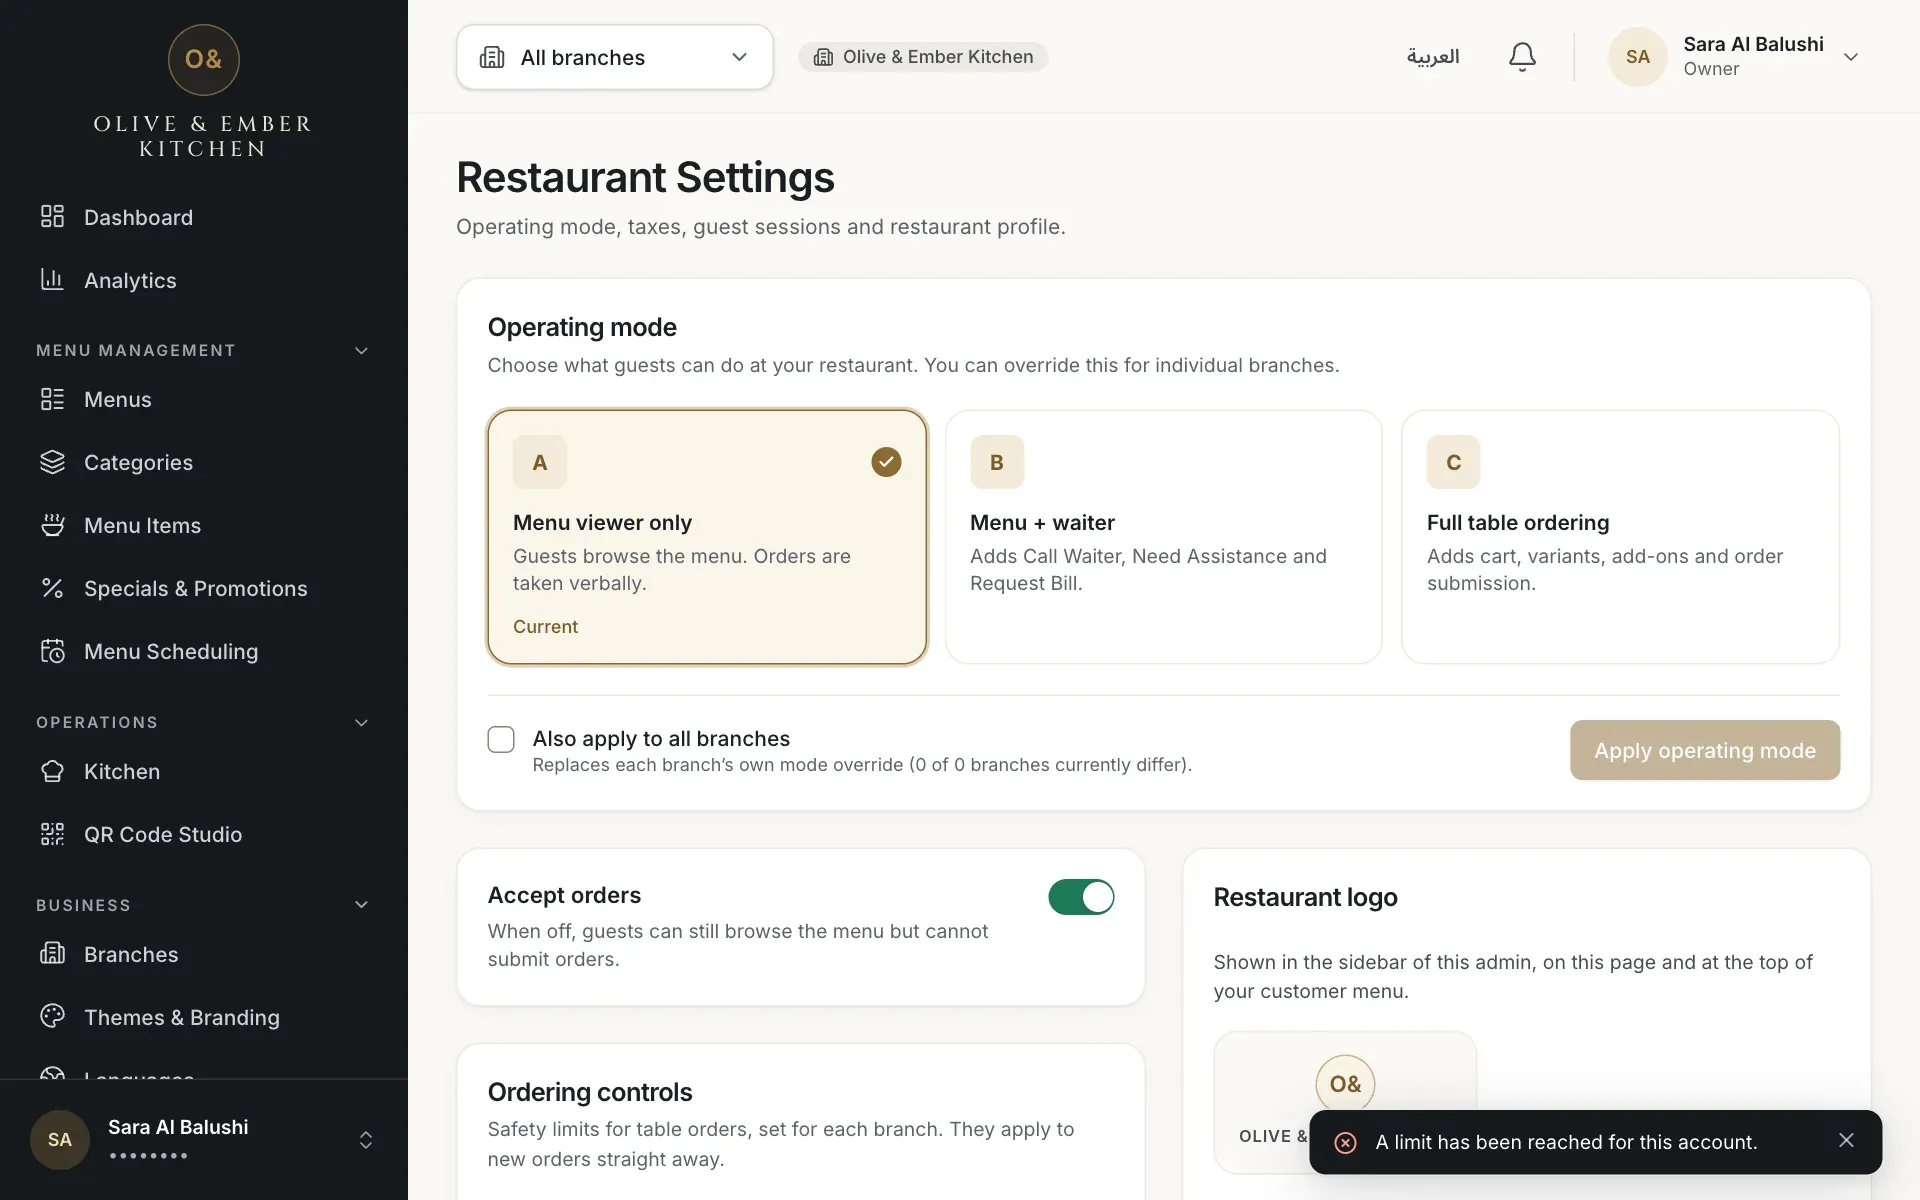
- Mode C, which the plan does not include
- The Apply operating mode button
Menu pages for a branch in the wrong mode
Screens that need a mode show a message instead of data, for example Ordering is not enabled for this branch with a Go to Branches button. Change the mode of the branch and the screen works.
Troubleshooting
The mode is not part of your plan. See Plans and limits for what each plan includes. The message is in English even in the Arabic screens.
Live Orders needs Mode C. The message says which mode the branch runs in. Click Go to Branches and change it.
Table Management and Waiter Requests need Mode B or C. Change the mode of the branch.
Nothing is different from the current mode. Pick another mode, or tick Also apply to all branches when some branches differ.
Only owners and admins can change the restaurant mode.
Related guides
- Restaurant setupOrdering and tax settingsSwitch ordering on or off, set the session length, the largest order, the service charge and VAT.
- Tables & QR codesAdd tablesAdd the tables of your branch, give each one a short code and a number of seats, then edit or remove them.
- OrdersHow guests orderWhat your guests do on their phone, from scanning the table QR code to sending an order, following it and calling the waiter.
- Plans & billingPlans and limitsSee your current plan, what each plan includes, and how much of your limits you have used.